How To Grow Irish Moss — The Complete Beginner’s Guide
How To Grow Irish Moss — The Complete Beginner’s Guide
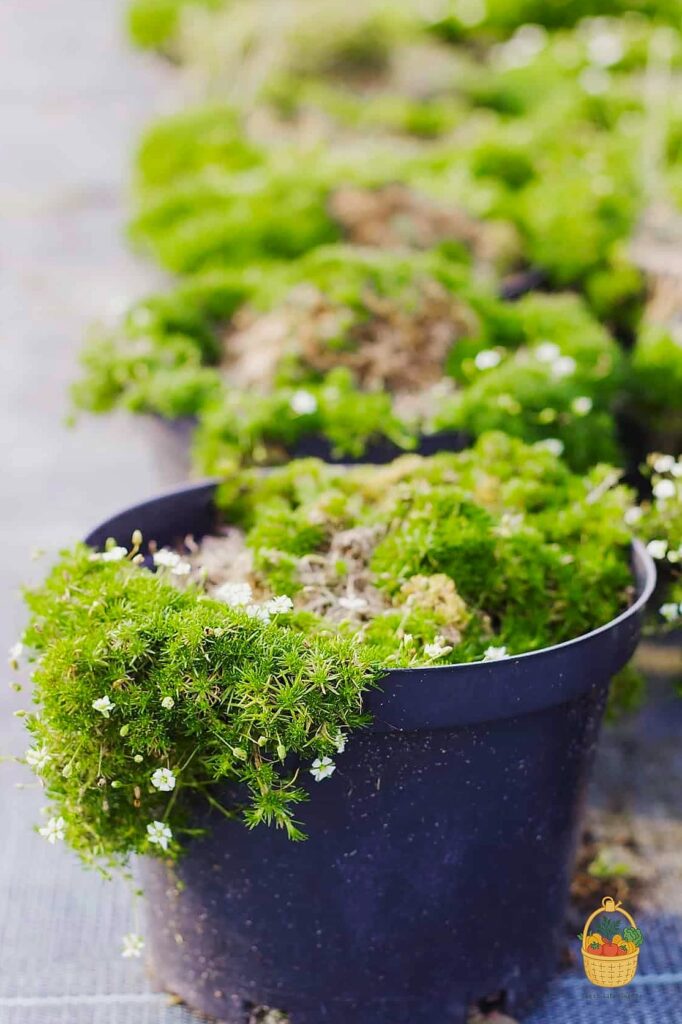
If you’ve ever wandered through a shady garden path and admired that soft, velvety green carpet hugging the stones, chances are you were looking at Irish moss. It’s one of those plants that quietly transforms a garden from “fine” to “wow, did you hire a landscaper?” And the best part is that it’s a lot easier to grow than its delicate, moss-like appearance suggests.
This guide walks you through everything you need to know about how to grow Irish moss, from the conditions it craves to the mistakes that trip up most beginners. Whether you’re filling in gaps between pavers or looking for a low, cushiony ground cover for a shaded corner, Irish moss is worth the small effort it asks for.
Why Gardeners Love It
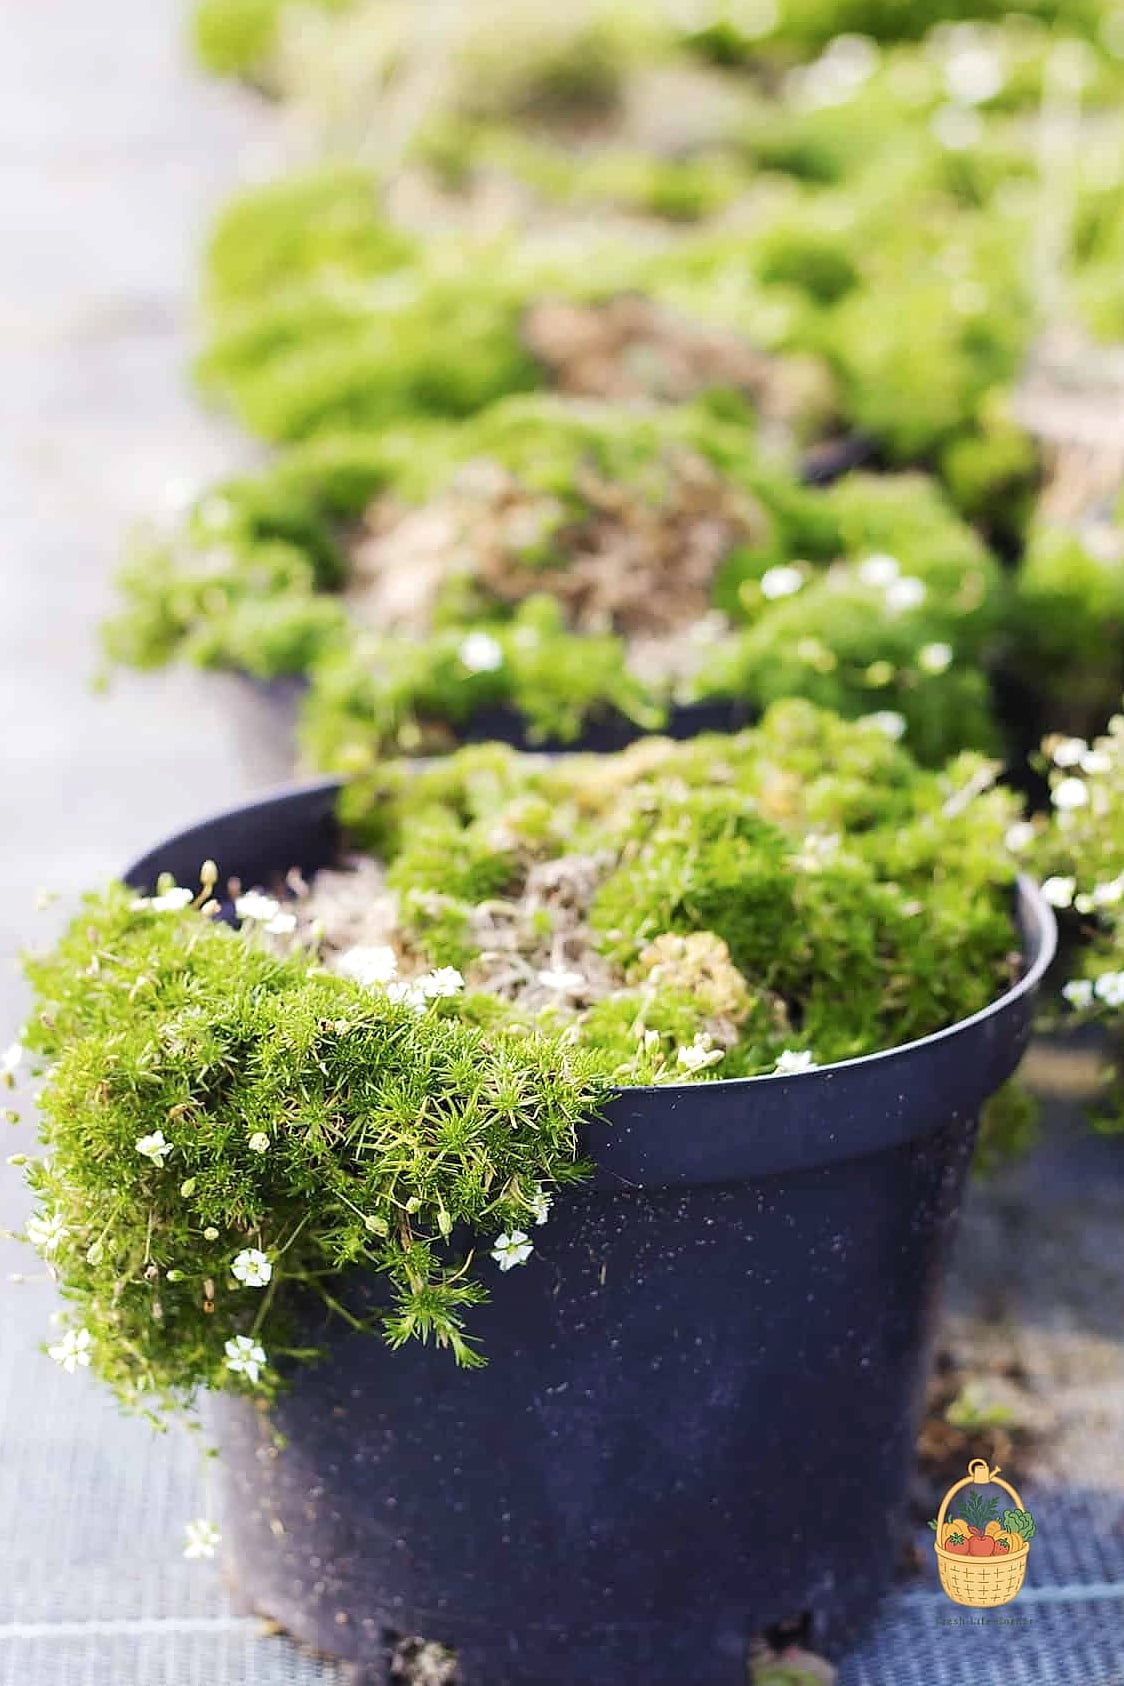
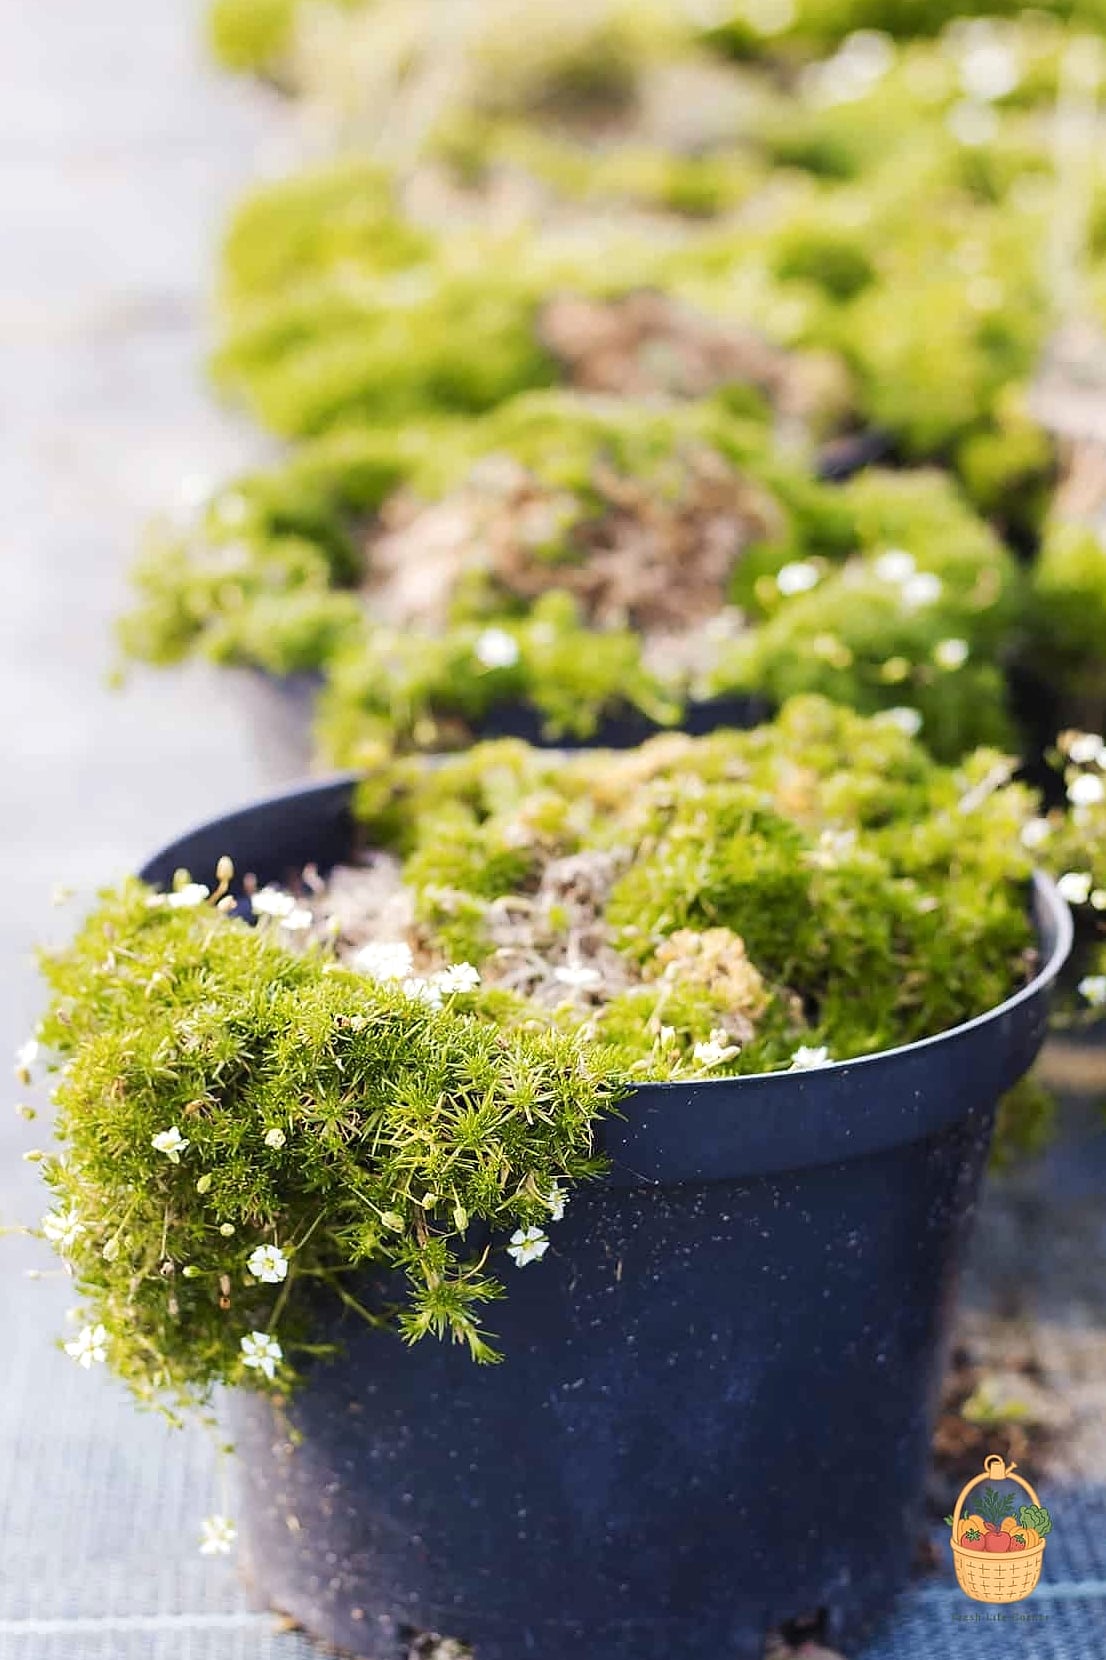
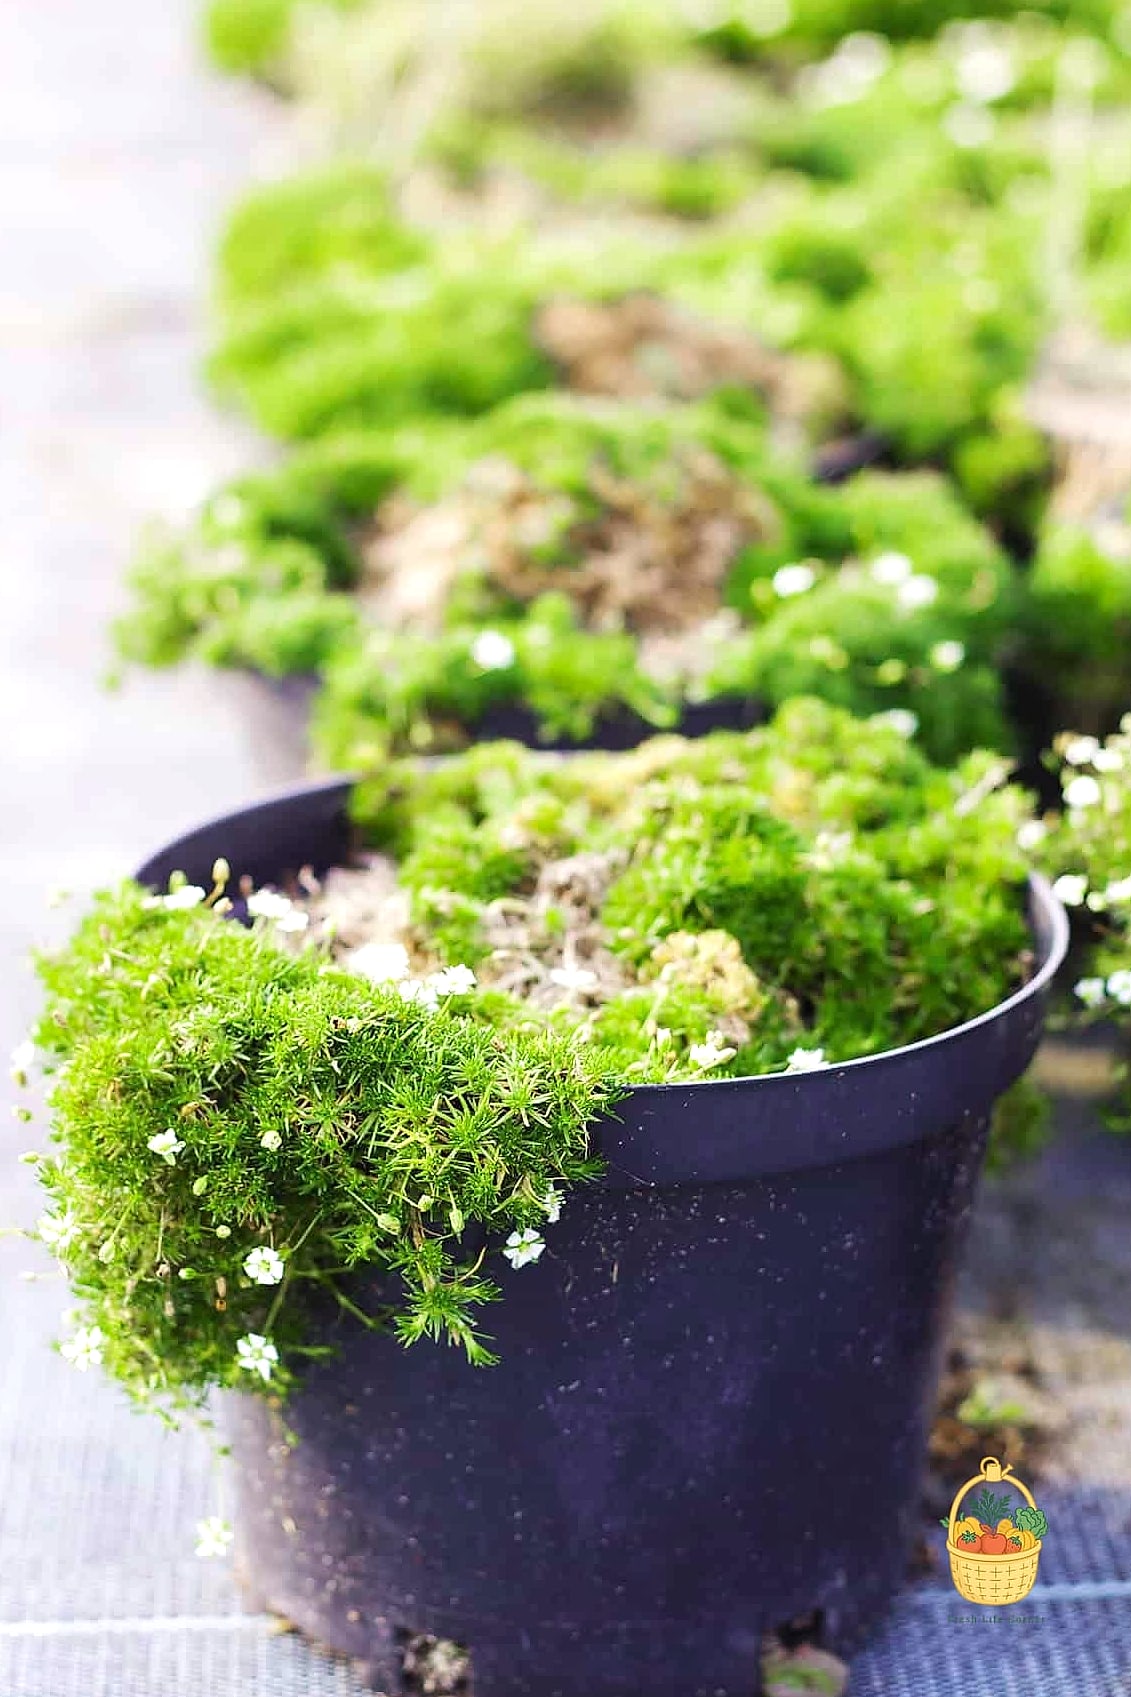
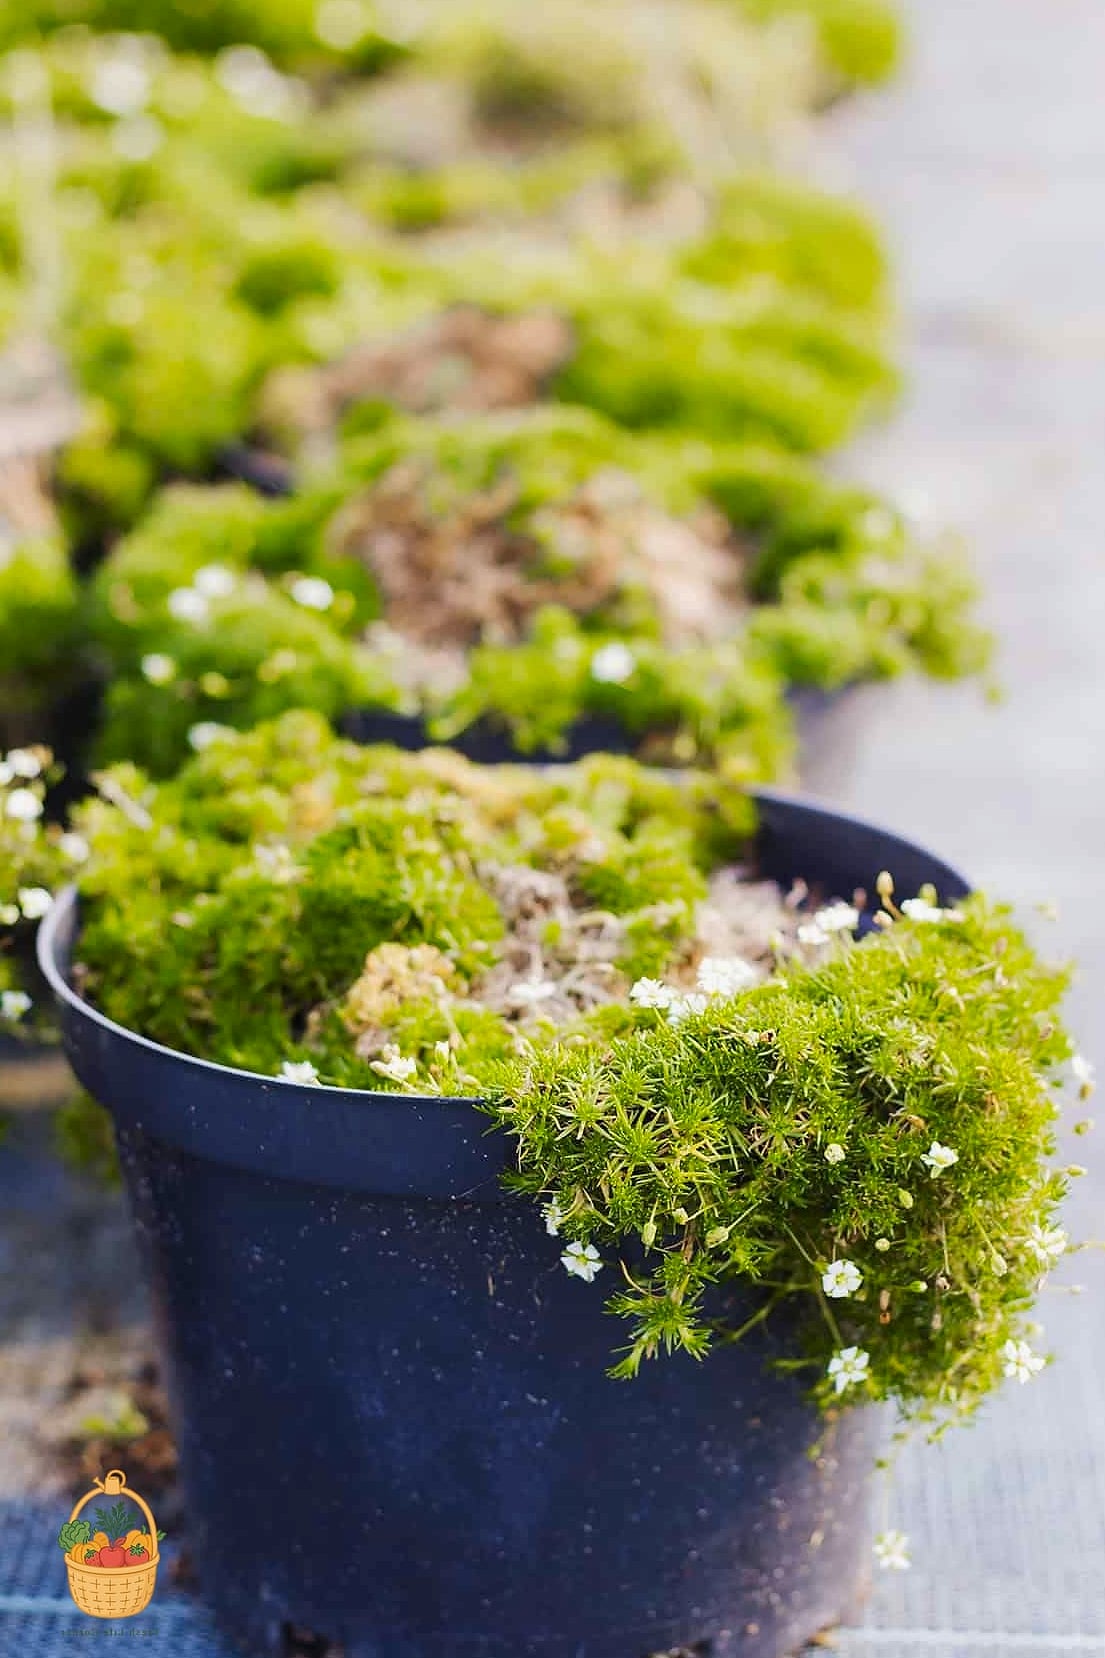
Irish moss (Sporobolus, formerly Sagina subulata) isn’t actually a true moss at all — it just looks like one, which is honestly part of its charm. It forms a dense, spongy mat that stays green through most of the growing season and turns a lovely bronze-green in cooler weather.
Gardeners love it because it solves problems. Bare soil between stepping stones? Irish moss fills it in. Awkward slope that erodes every time it rains? Irish moss holds it together. It’s also just satisfying to walk on barefoot, which is not something you can say about most ground covers.
Key Features and Appearance
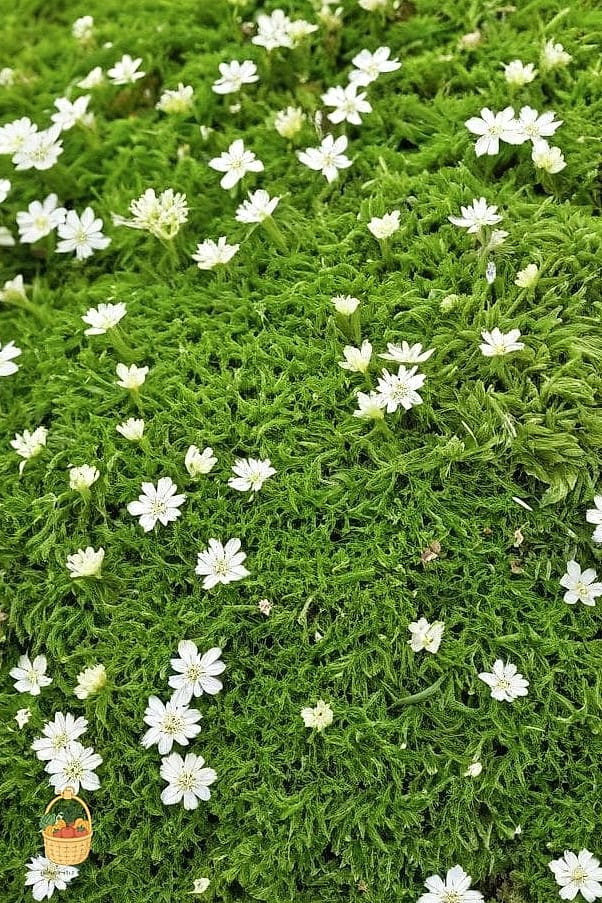
Irish moss grows low and tight, usually reaching only about one to four inches tall, with tiny needle-like leaves packed so closely together that the whole plant reads as a solid, plush surface from a few feet away.
In late spring, it produces small white star-shaped flowers that dot the green mat like tiny snowflakes. It’s a subtle bloom, not a showstopper, but it adds a nice touch without competing with the plant’s main appeal — that texture.
One thing worth knowing upfront: Irish moss is often confused with Scotch moss, its close cousin with a slightly yellow-green tint. They’re grown almost identically, so if you end up with the wrong one at the nursery, don’t panic.
Growing Conditions
This is where Irish moss gets a little particular, though not in a way that should scare off a beginner. It does best in USDA hardiness zones 4 through 9, tolerating both a proper winter freeze and a moderately warm summer.
Light is the biggest factor to get right. Irish moss prefers partial shade, especially in hotter climates, though it can handle full sun in cooler regions if it gets consistent moisture. In deep shade, it tends to thin out and get patchy, so aim for that dappled, in-between light if you can.
It’s not a drought-tolerant plant, and that’s worth repeating because it trips people up. If you’re picturing something moss-like as low-water, Irish moss will happily prove you wrong.
Soil and Watering Needs
Irish moss wants soil that’s consistently moist but still well-draining — sandy loam with some compost worked in is close to ideal. Heavy clay soil that holds water can lead to rot, so if that’s what you’re working with, amend it before planting rather than fighting it later.
A slightly acidic to neutral pH suits it best. You don’t need to obsess over exact numbers, but if your soil leans strongly alkaline, a bit of peat moss or sulfur worked into the bed will help.
As for watering, think “damp sponge,” not “swamp.” Water regularly enough that the surface never fully dries out, especially during the first year while the roots are establishing. A soaker hose or drip irrigation setup is a great option since it keeps moisture even without soaking the crown of the plant, which can invite fungal issues.
Fertilizing and Pruning
Irish moss isn’t a heavy feeder, which is one more reason it’s a forgiving choice for someone just starting out. A light application of balanced, slow-release fertilizer in early spring is usually enough to keep it looking full and vibrant for the season.
If you want to skip synthetic fertilizer altogether, a thin top-dressing of compost once a year works just as well and improves the soil structure at the same time.
Pruning is barely a chore here. Occasionally trim back any areas that get leggy or start creeping somewhere you don’t want them, using sharp pruning shears or even garden scissors. A light shearing in early spring can also encourage denser, fuller regrowth.
Common Problems and Solutions
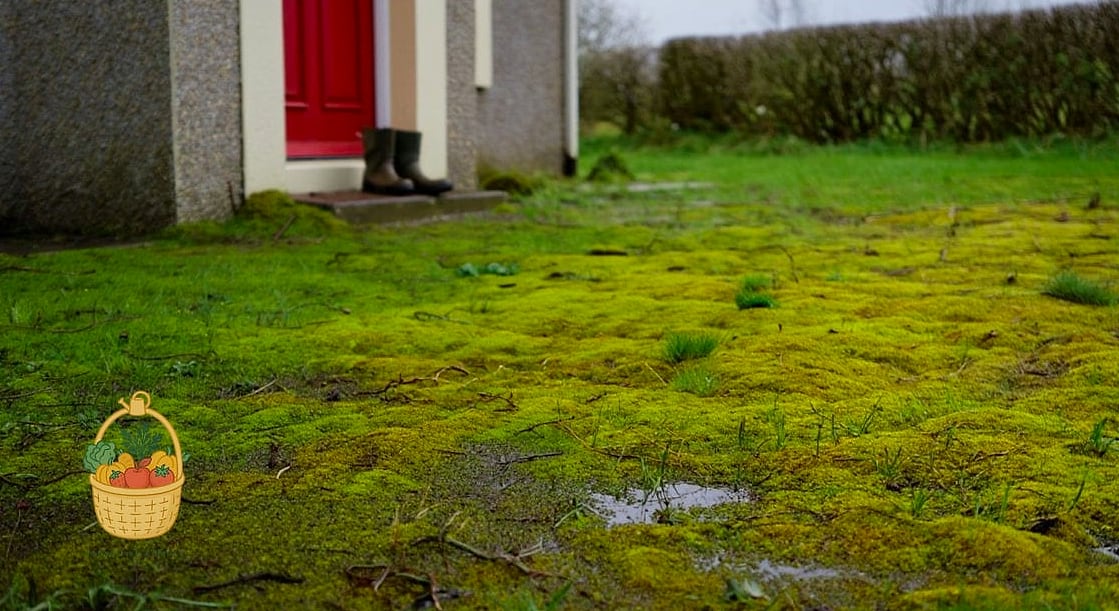
The most frequent issue beginners run into is browning or thinning patches, usually caused by inconsistent watering or too much direct sun in a hot climate. If you notice this, check your watering schedule before assuming something more serious is wrong.
Root rot can show up if the soil stays waterlogged for too long, so improving drainage is the fix rather than watering less overall — Irish moss still wants that moisture, it just needs somewhere for excess water to go.
Pests aren’t usually a big problem, though slugs and snails occasionally treat a mossy mat like an all-you-can-eat buffet. Handpicking, beer traps, or diatomaceous earth around the edges are effective, low-fuss ways to keep them in check without reaching for harsh chemicals.
Foot traffic is another thing to watch. Irish moss handles light, occasional walking reasonably well, which is why it’s so popular between stepping stones, but heavy daily use in one spot will wear it thin over time.
Propagation Tips
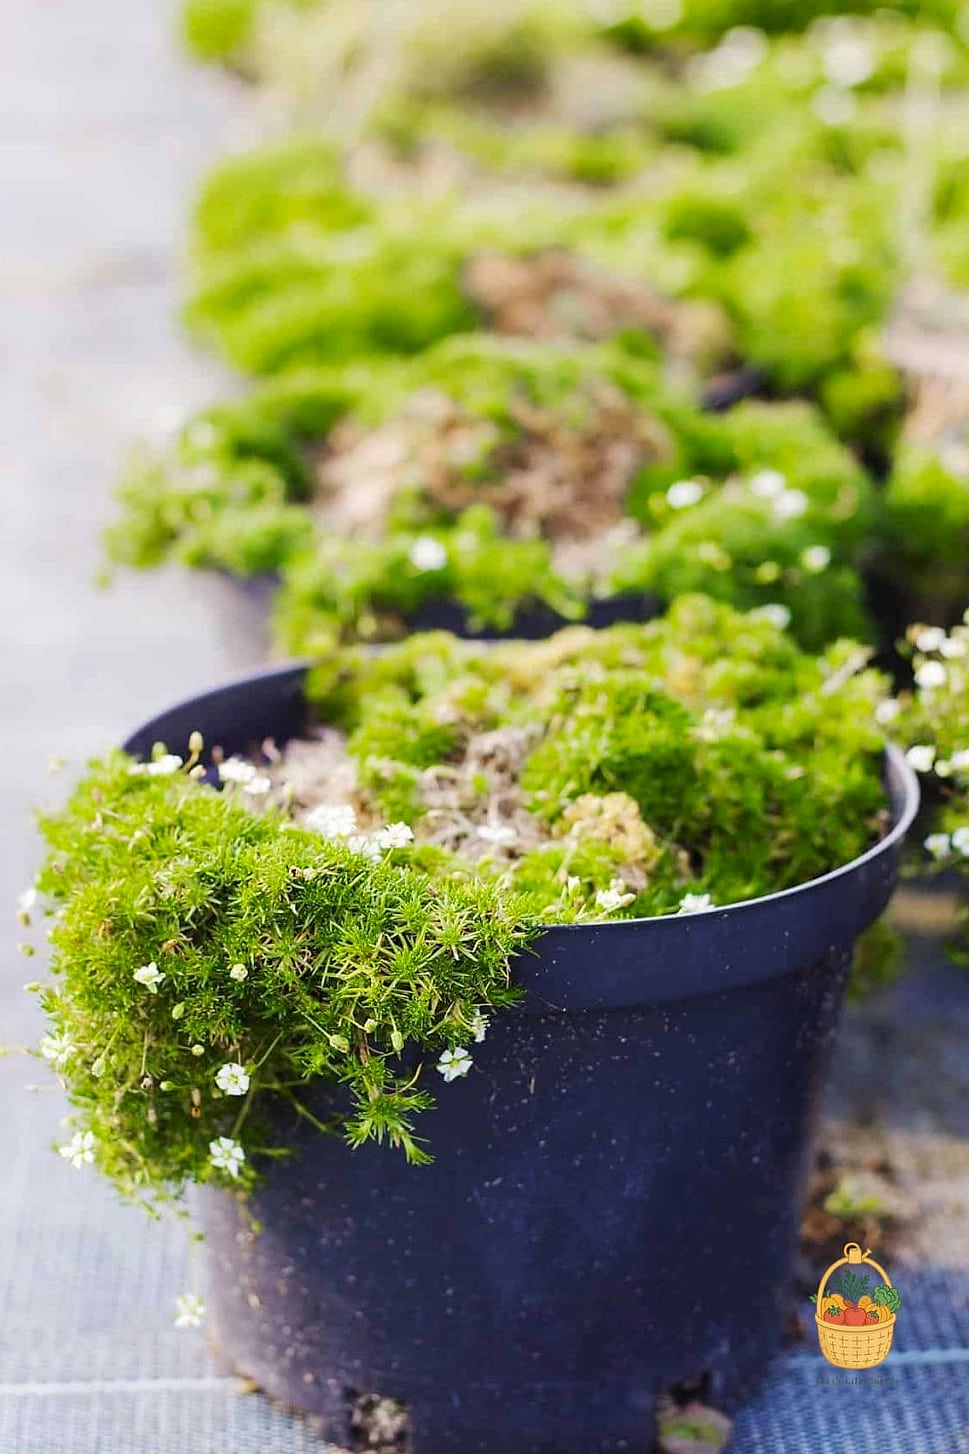
Propagating Irish moss is refreshingly simple, which makes it a great plant for beginners who want to expand their garden without buying more nursery flats. Division is the most reliable method — just dig up a section of the established mat, gently pull it apart into smaller clumps, and replant those clumps with a bit of space between them to fill in.
Spring or early fall are the best times to divide, since the cooler temperatures reduce transplant stress. Keep newly divided sections consistently watered for the first few weeks until you see new growth pushing out at the edges, which is your sign that they’ve taken root.
You can also grow Irish moss from seed, though it’s slower and less predictable than division. If you go this route, scatter the seed over prepared soil, keep it evenly moist, and be patient — germination can take a few weeks.
Final Thoughts
Irish moss rewards a little consistency more than it demands expertise. Keep the soil moist, give it some relief from harsh afternoon sun, and it will quietly do its job of turning bare, awkward spots into something soft and green.
It’s a plant that looks intricate but behaves simply, which is exactly the kind of low-drama, high-reward project that makes gardening fun in the first place. Once you’ve got a healthy patch established, you’ll likely find yourself dividing it just to have an excuse to fill in one more corner of the yard.