How To Grow Arrowroot — Your Step-by-Step Guide to Success
How To Grow Arrowroot — Your Step-by-Step Guide to Success
If you’ve ever wondered how that fine white powder in your pantry comes to be, arrowroot is your answer. This tropical perennial has been quietly feeding and thickening sauces for centuries, and growing it yourself is far more approachable than most people assume. Whether you’re working with a warm garden bed or a large container on a sunny patio, this guide walks you through everything you need to know to grow arrowroot successfully.
Why Gardeners Love It
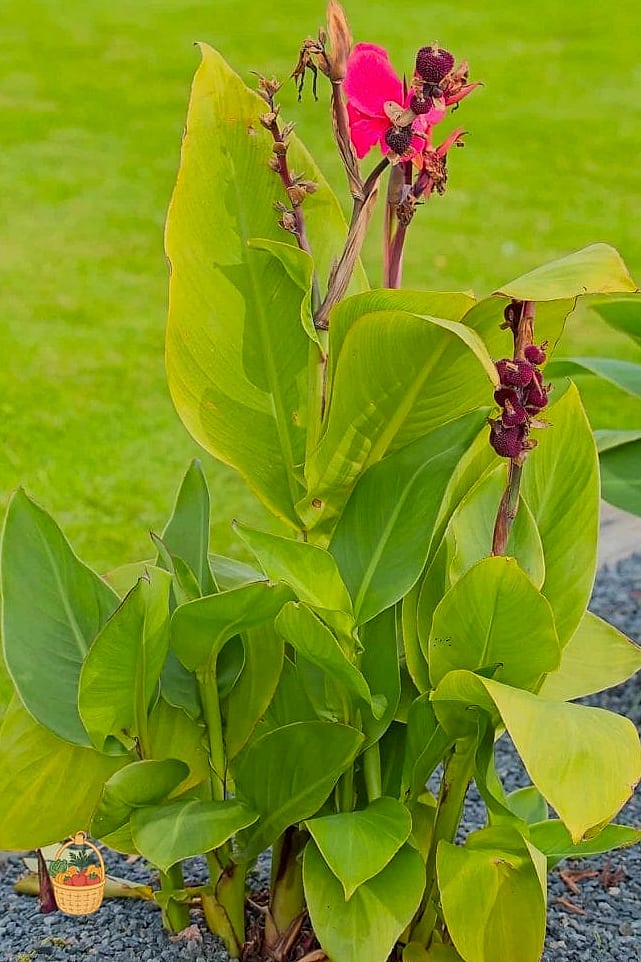
Arrowroot (Maranta arundinacea) earns its fans for being both useful and undemanding once it’s settled in. It’s the kind of plant that quietly does its thing in a corner of the garden while producing a genuinely valuable root crop underground.
Gardeners in warm climates appreciate that it’s drought tolerant once established, resistant to most pests, and doesn’t ask for constant attention. It’s also a great conversation starter — not many people can say they grow their own starch and thickener at home.
There’s also something satisfying about growing a plant with real culinary and even historical value. Arrowroot starch was used long before cornstarch became the pantry default, and it still holds its own as a gluten-free thickening agent.
Key Features and Appearance
Arrowroot grows as a clumping perennial with soft, lance-shaped leaves that can reach up to a foot long. The foliage has a tropical, almost banana-leaf quality, which makes it a decent ornamental even before you consider the edible payoff.
Small white flowers appear on thin stalks during the growing season, though most gardeners are really after what’s happening underground. The plant produces rhizomes — thick, segmented underground stems — that store the starch used to make arrowroot powder.
Mature plants typically reach two to four feet tall, forming a loose, leafy clump. It’s fast-growing during warm months and spreads gradually by rhizome, so give it some room to stretch out.
Growing Conditions
Arrowroot is a plant of the tropics, and it shows. It thrives in USDA hardiness zones 9 through 11, where warm temperatures and humidity are practically guaranteed for most of the year. If you’re gardening outside those zones, don’t worry — container growing makes this plant accessible almost anywhere.
Partial shade is actually preferred over full sun, especially in hotter climates where intense afternoon rays can scorch the leaves. Think of the light conditions under a light tree canopy — that’s arrowroot’s happy place.
Humidity matters more than most people expect. If your air is dry, especially indoors, misting occasionally or grouping it with other tropical plants can help it feel more at home. Cooler climates should plan on growing arrowroot in containers that can be moved indoors before frost, since this plant has zero tolerance for cold snaps.
Soil and Watering Needs

Arrowroot wants soil that’s rich, loose, and well-draining. A sandy loam amended generously with compost gives the rhizomes room to expand without sitting in soggy, compacted ground. Heavy clay soil is a recipe for frustration here, so if that’s what you’re working with, consider raised beds or containers instead.
Slightly acidic to neutral soil suits it best. Adding organic matter at planting time not only improves texture but feeds the plant as it establishes.
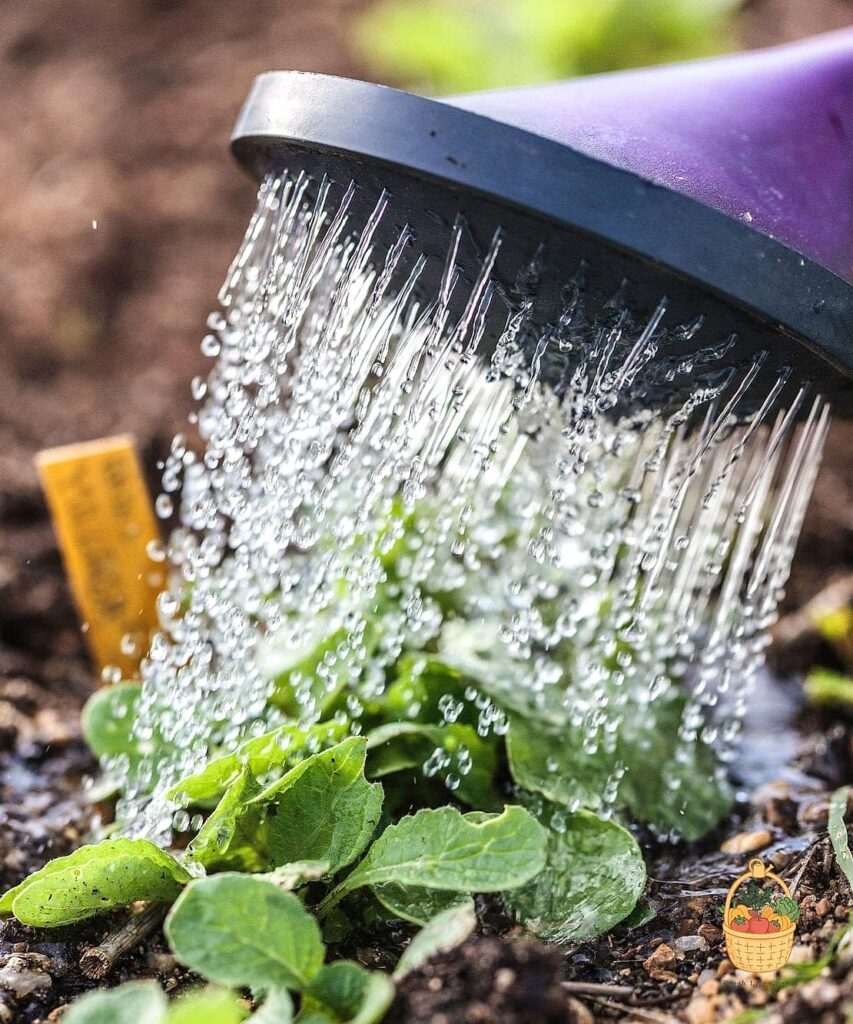
Watering should be consistent but never excessive. This is a plant that likes evenly moist soil, particularly during active growth in spring and summer. That said, overwatering is a real risk — soggy, waterlogged soil invites root rot faster than almost anything else you could do wrong.
A good rule of thumb: water when the top inch of soil starts to dry out, then let it drain fully. Drip irrigation works beautifully for in-ground plantings, keeping moisture steady without the guesswork. Mulching around the base also helps retain moisture and keeps weeds down, which arrowroot’s shallow root system will thank you for.
Fertilizing and Pruning
Arrowroot isn’t a heavy feeder, but a little encouragement goes a long way toward bigger, healthier rhizomes at harvest time. A balanced slow-release fertilizer applied at planting, followed by monthly feedings of diluted liquid fertilizer during the growing season, keeps growth steady.
Compost worked into the soil each spring is honestly one of the best things you can do for this plant. It feeds slowly, improves soil structure, and supports the beneficial microbes that tropical root crops seem to appreciate.
Pruning is minimal. Simply remove any yellowing or damaged leaves as you spot them to keep the plant tidy and to redirect energy toward healthy growth. There’s no need for aggressive shaping — arrowroot naturally keeps a nice clumping form on its own.
Common Problems and Solutions
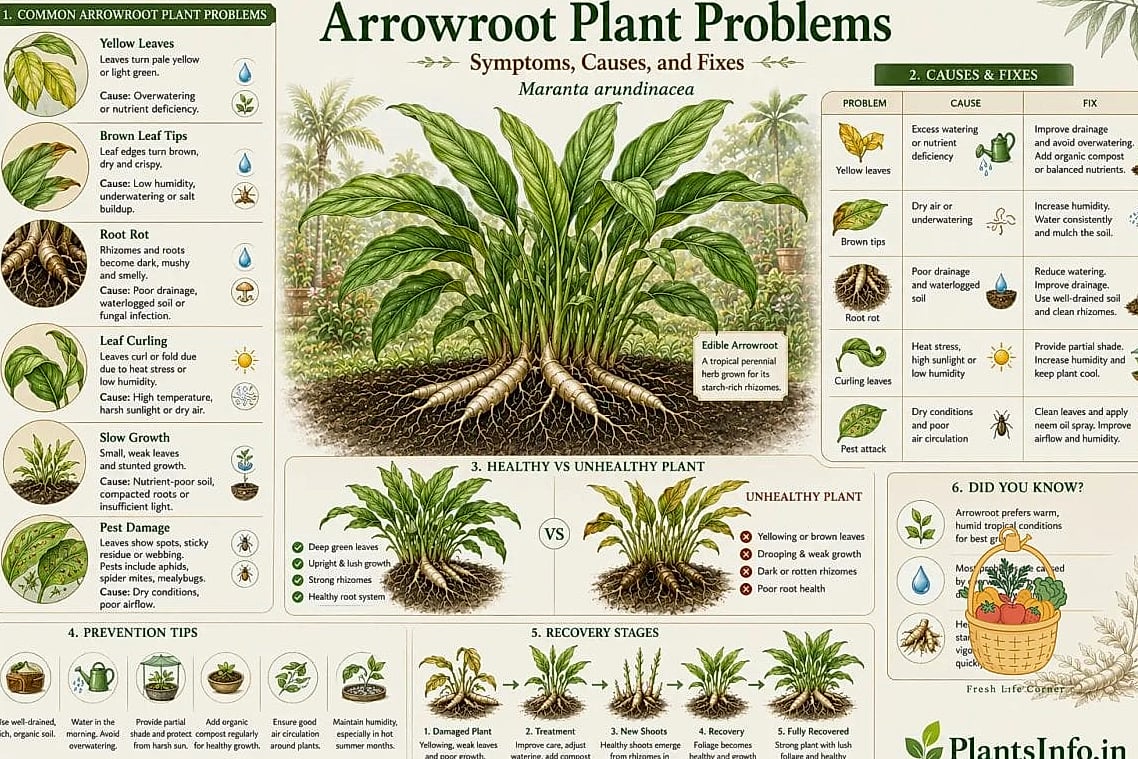
Yellowing leaves are usually the first sign something’s off, and nine times out of ten it points to overwatering. Cut back on watering frequency and check that your soil is actually draining rather than pooling around the roots.
Root rot is the more serious version of that same problem. If you catch mushy, dark rhizomes at the base, it’s often too late for that section of the plant, but removing affected material and improving drainage can save the rest.
Pests are generally not a major issue outdoors, though spider mites and aphids can occasionally show up, especially on plants grown indoors or in low-humidity conditions. A blast of water or a light application of insecticidal soap usually handles it without needing anything harsher.
Cold damage is arguably the biggest threat to arrowroot outside tropical zones. Even a light frost can blacken the foliage overnight. If you’re growing outdoors in a borderline zone, keep frost cloth on hand or plan to bring container plants indoors well before temperatures dip.
Propagation Tips
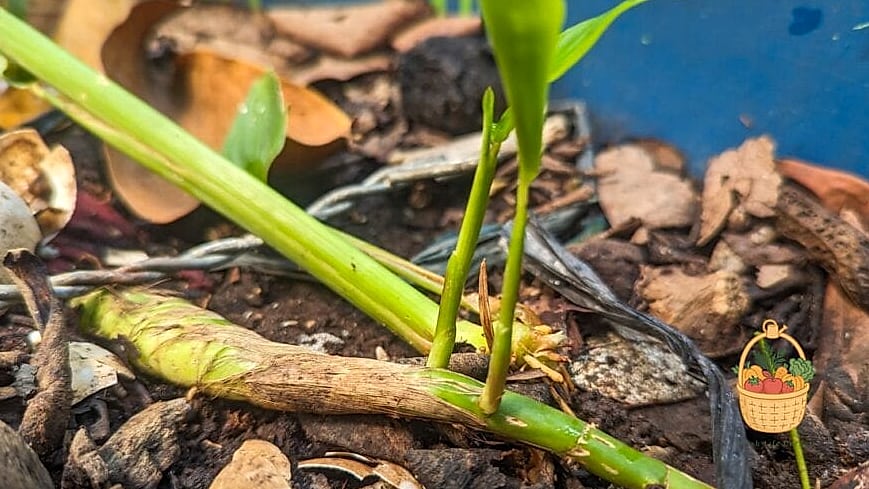
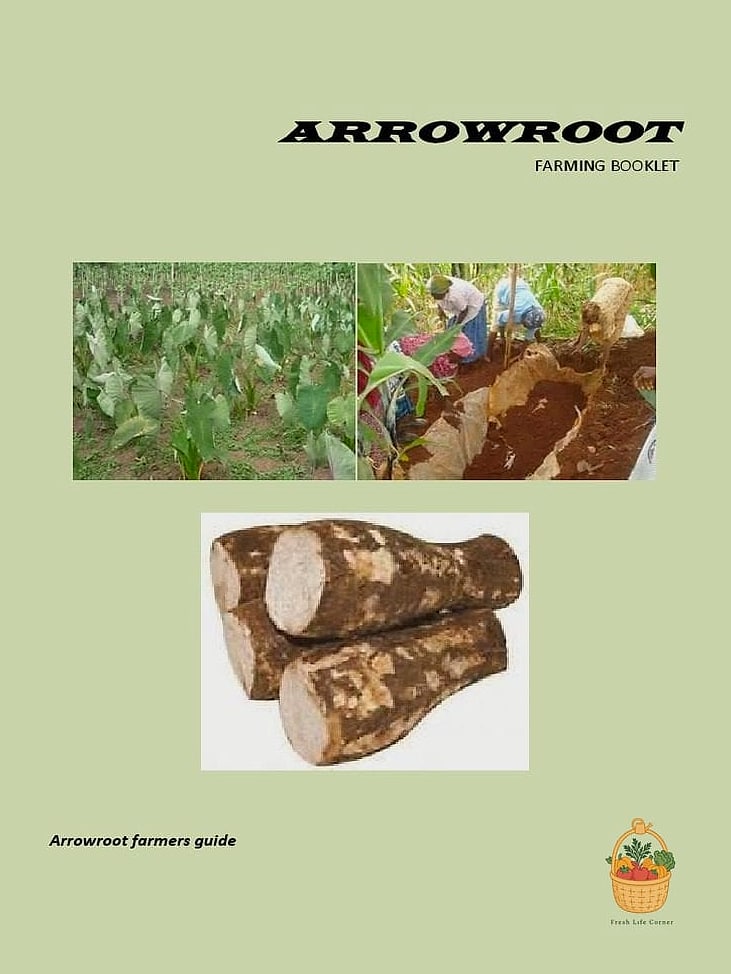
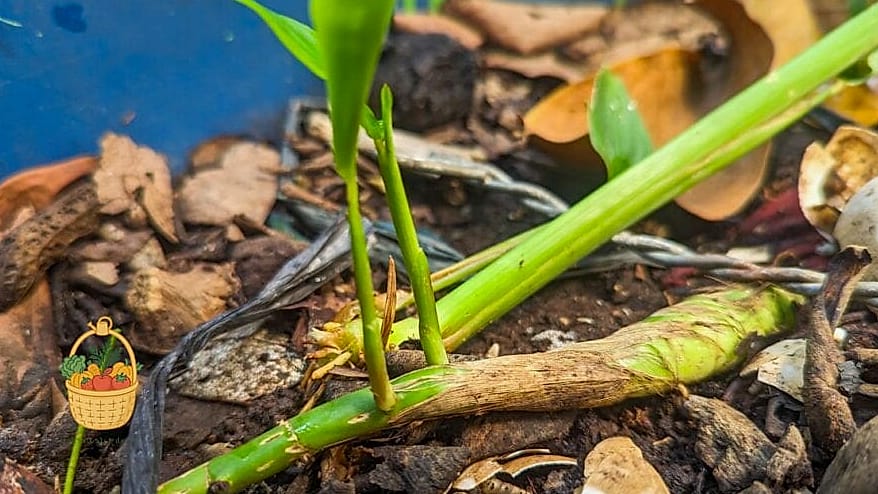
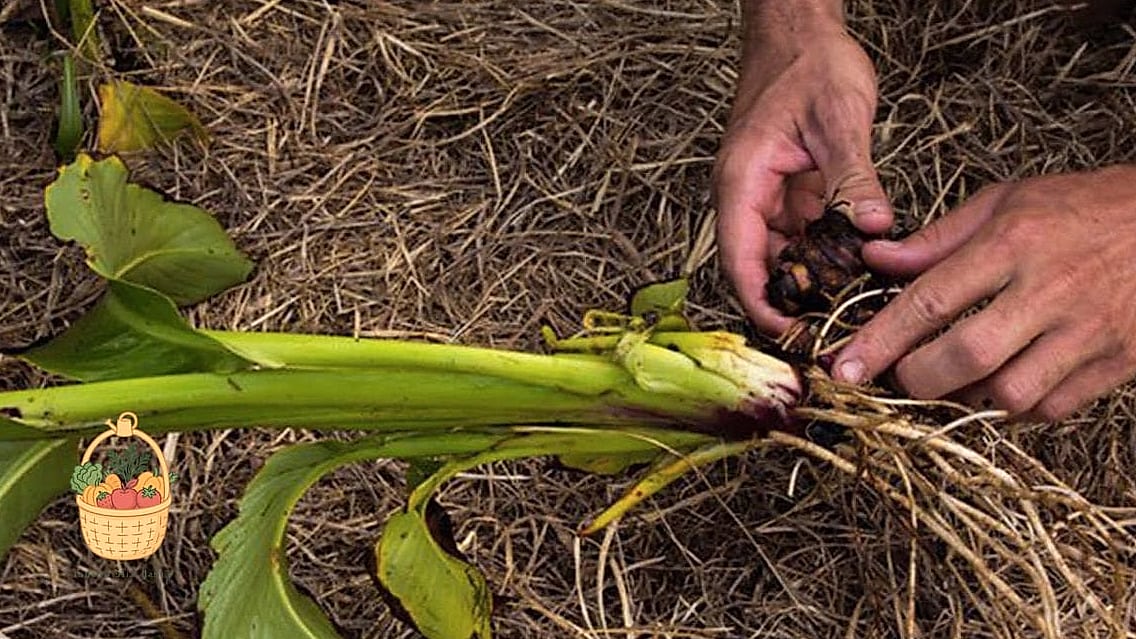
Propagation by division is by far the easiest and most reliable method, and honestly, it’s part of the fun of growing this plant. When you harvest rhizomes in fall, simply save a few healthy segments, each with a visible growth node, to replant.
Plant these divisions about two inches deep in prepared soil, spacing them roughly a foot apart to give each new clump room to develop. Keep the soil consistently moist until new shoots appear, which usually happens within a few weeks in warm conditions.
Container gardeners can start new plants the same way, using a pot at least twelve inches wide to accommodate the spreading rhizome system. This makes arrowroot an easy pass-along plant — once you’ve grown a patch, you’ll likely have enough divisions to share with fellow gardeners for years.
Final Thoughts
Learning how to grow arrowroot is less about mastering a difficult skill and more about understanding what this tropical plant naturally wants: warmth, humidity, loose rich soil, and steady moisture without excess. Meet those conditions, and it rewards you with lush foliage and a genuinely useful harvest.
This step-by-step guide to success should give you a solid foundation whether you’re planting in a garden bed in a warm climate or experimenting with containers further north. Give it a season or two, and you might find yourself grinding your own starch and wondering why you didn’t try this sooner.