How To Grow Onions In Containers — Everything You Need to Know
- Why Container-Grown Onions Are Worth Trying
- Choosing the Right Onion Variety
- Picking the Right Container
- The Best Soil Mix for Onions in Pots
- Planting: Seeds, Sets, or Transplants
- Sunlight Requirements
- Watering Onions the Right Way
- Fertilizing for Bigger Bulbs
- Common Pests and Problems
- Companion Planting in Containers
- When and How to Harvest
- Seasonal Care Notes
- Final Thoughts
How To Grow Onions In Containers — Everything You Need to Know
Onions don’t get nearly enough credit in the container gardening world. Everyone’s busy fawning over tomatoes and herbs, and meanwhile onions are sitting quietly in the corner, perfectly happy to grow in a pot on your patio with almost no drama. If you’ve got a sunny balcony, a back step, or even just a windowsill with decent light, you can absolutely pull this off.
I started growing onions in containers a few years back mostly out of laziness — my in-ground bed was overrun with weeds and I didn’t want to deal with it. Turns out, container-grown onions are just as productive, sometimes more so, because you control the soil completely. Let’s get into how to actually do this well.
Why Container-Grown Onions Are Worth Trying
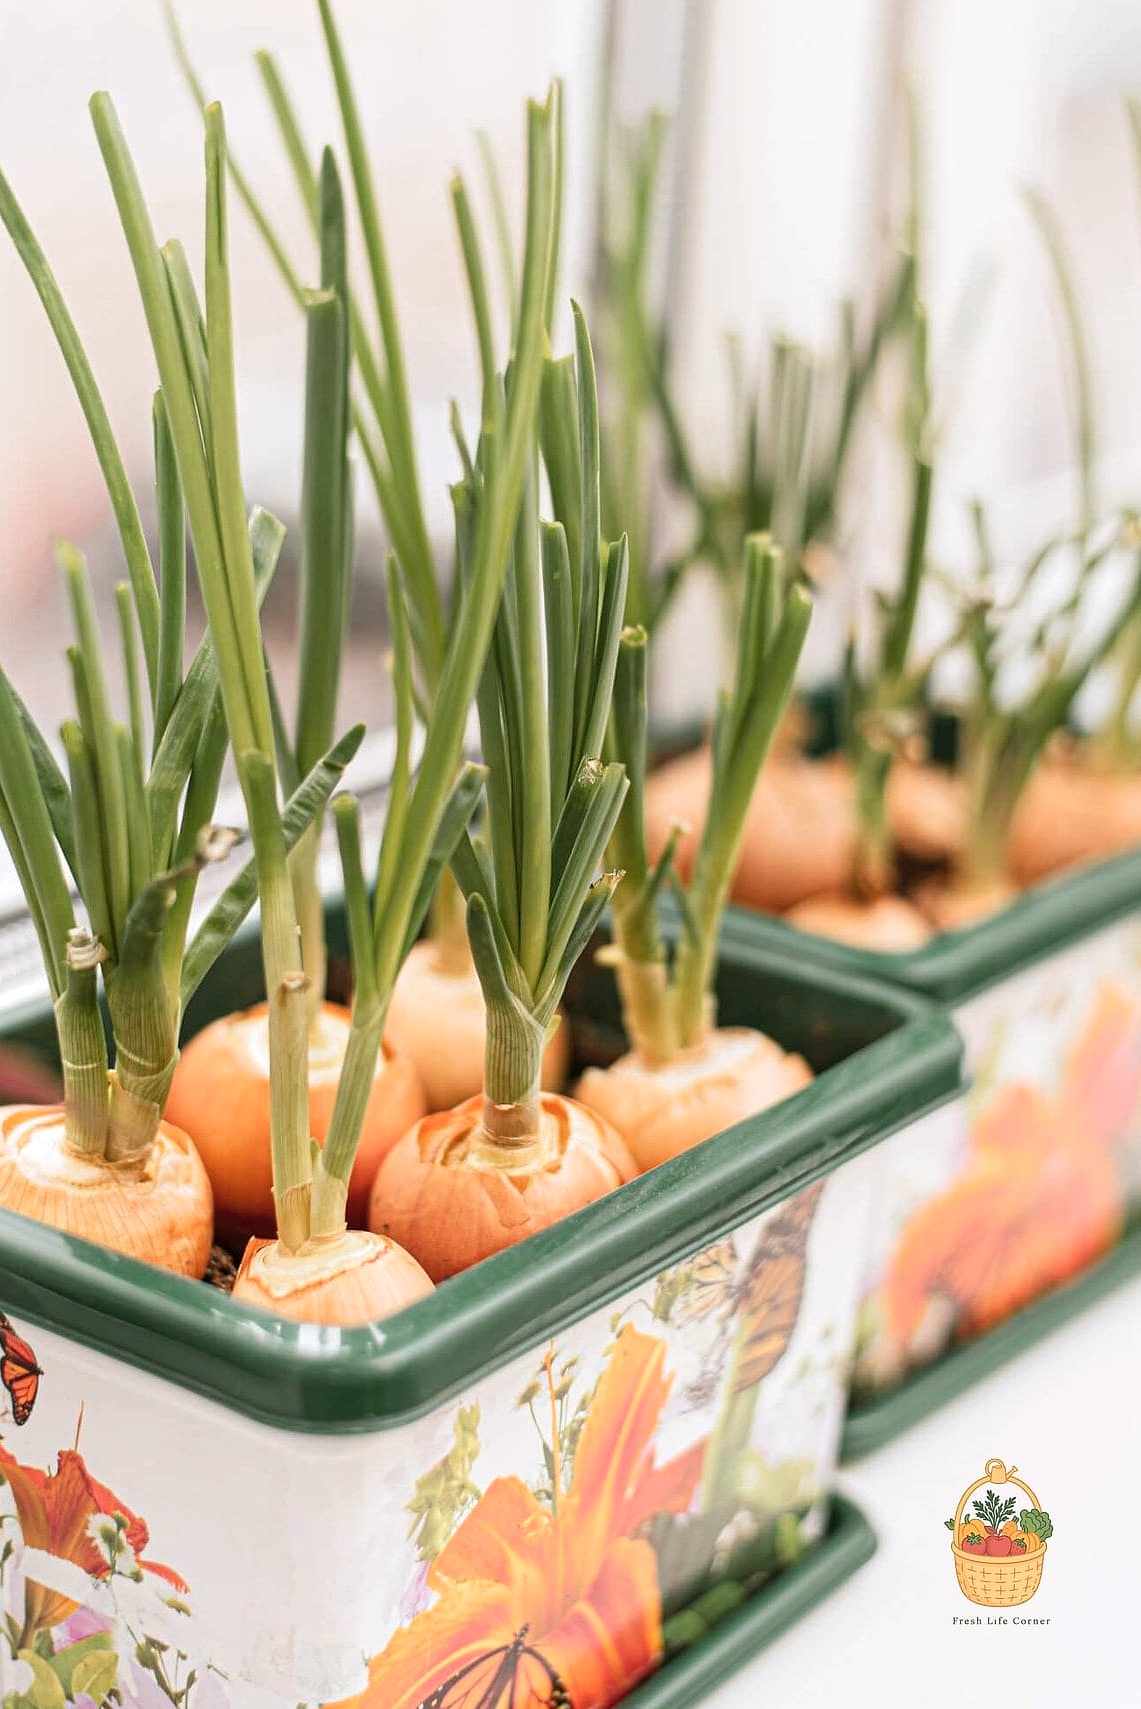
Onions have shallow, fibrous root systems, which makes them naturally suited to pots. They don’t need deep soil like carrots or parsnips do. What they need is consistent moisture, good drainage, and enough room to bulb out sideways.
Growing them in containers also means you can move them to chase the sun, protect them from a surprise frost, or keep them close to the kitchen door for easy harvesting. If you’re gardening on a balcony or in a small urban space, onions are one of the more forgiving crops you can start with.
Choosing the Right Onion Variety
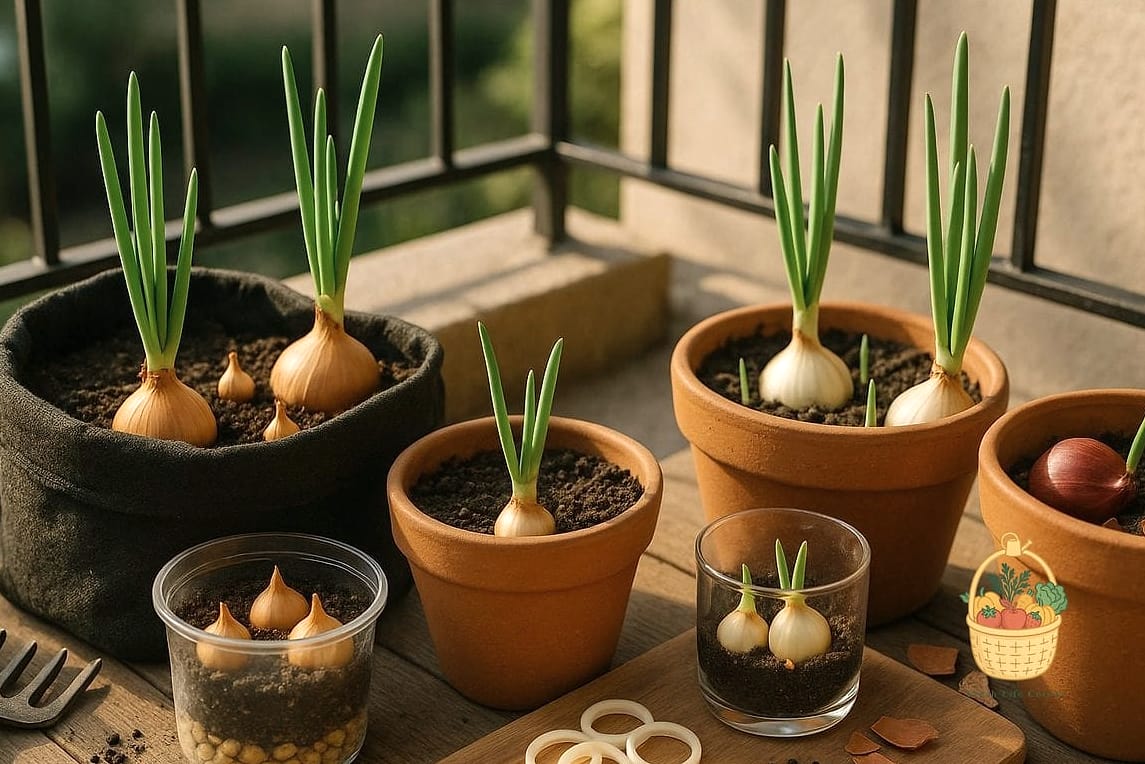
Not every onion is destined for pot life, but most will do just fine if you pick the right type. Bulbing onions, bunching onions, and scallions all work in containers — it just depends on how much space you’re willing to give them.
Short-day onions are better suited to southern regions with mild winters, while long-day onions perform best in northern climates with longer summer daylight hours. If you’re not sure which category fits your USDA hardiness zone, a quick look at the seed packet or a local nursery will clear that up fast. Bunching onions and scallions are especially container-friendly since they don’t need as much room to bulb.
Picking the Right Container
Size matters more than you’d think here. A container that’s too shallow will stunt bulb development, and one that’s too crowded will give you a bunch of skinny, disappointing onions.
Go with something at least 8 to 10 inches deep. Width is where you have flexibility — a wide, shallow tub or trough actually works better than a tall, narrow pot because it lets you space out multiple onions. Terracotta pots look lovely and breathe well, but they also dry out faster, so you’ll be watering more often. Plastic or glazed ceramic containers hold moisture longer, which can work in your favor during hot summer stretches. Whatever you choose, drainage holes are non-negotiable. Onions sitting in soggy soil are practically begging for root rot.
The Best Soil Mix for Onions in Pots
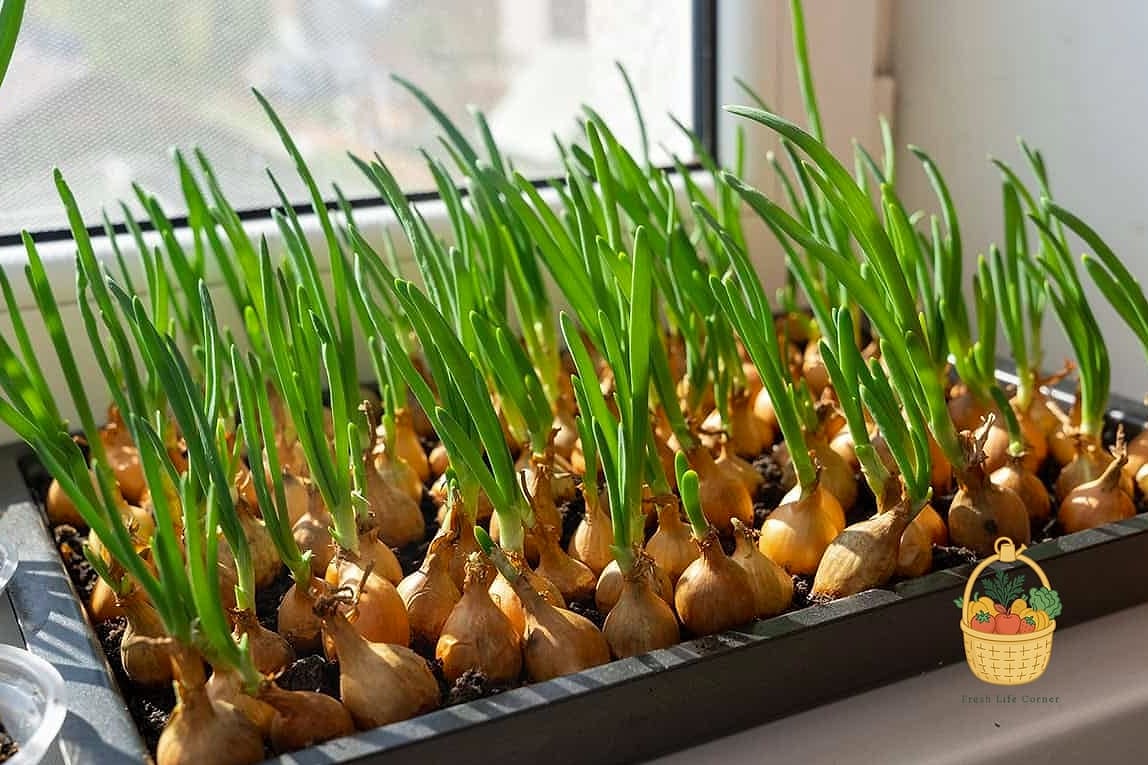
Onions want loose, well-draining soil — think sandy loam rather than heavy clay. Dense, compacted soil restricts bulb expansion and can leave you with lopsided or stunted onions.
A solid mix is about two parts high-quality potting soil to one part compost, with a handful of perlite or coarse sand worked in for drainage. Skip using straight garden soil in containers; it compacts too easily and often carries pests or fungal spores you don’t want in a confined pot. Onions also prefer a slightly acidic to neutral pH, somewhere around 6.0 to 6.8, so if you’re the type who tests soil pH, that’s your target range.
Planting: Seeds, Sets, or Transplants
You’ve got three ways to start onions, and each has its own personality.
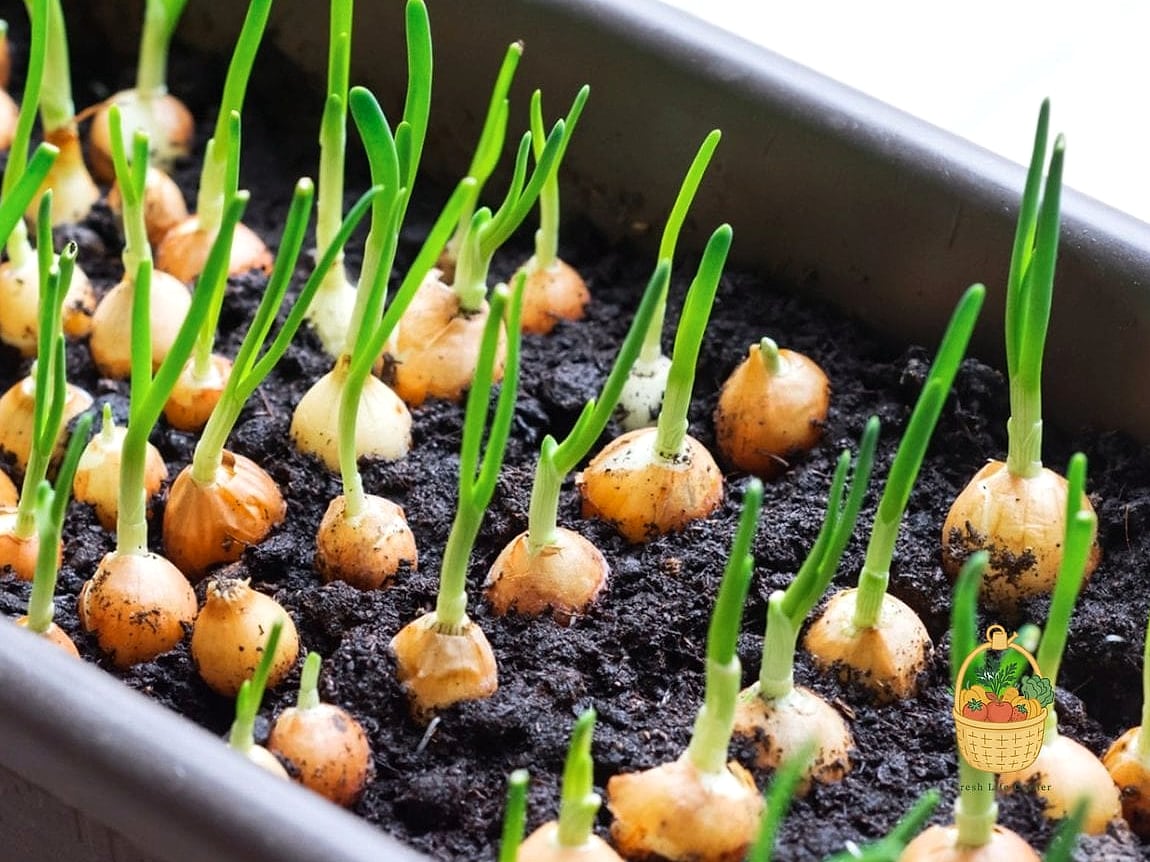
Onion sets — those little dormant bulbs you find at the garden center — are the easiest and most forgiving option, especially for beginners. Just push them into the soil about an inch deep, pointy end up, and space them roughly 4 to 5 inches apart if you want full-size bulbs, or closer together if you’re planning to harvest some early as green onions.
Transplants give you a head start and tend to produce reliably, though they cost a bit more upfront. Seeds are the slowest route and require more patience, but they offer the widest variety selection if you’re feeling adventurous.
Whichever method you choose, plant in early spring once the danger of hard frost has passed, unless you’re in a mild-winter zone where fall planting is an option too.
Sunlight Requirements
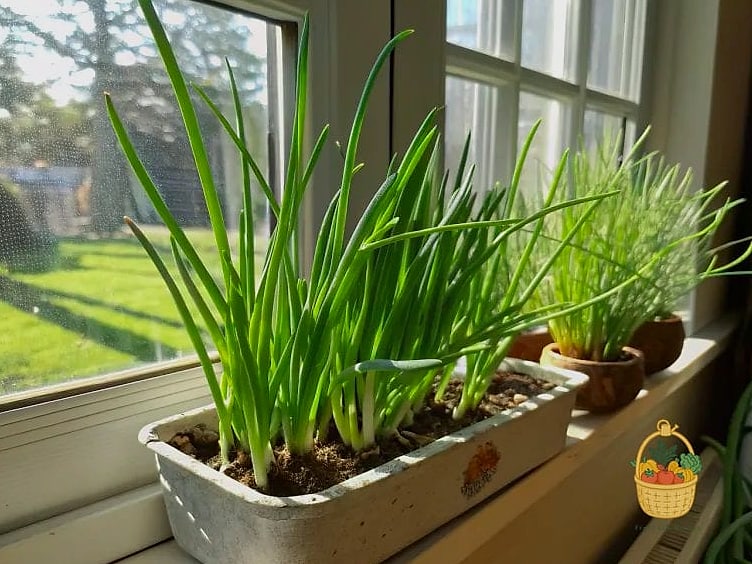
Onions are sun-hungry. Full sun, meaning six or more hours of direct light daily, gives you the best bulb size and the healthiest tops. Partial shade won’t kill them, but you’ll notice smaller bulbs and slower growth.
If you’re growing indoors or in a spot with limited natural light, a grow light can genuinely make the difference between a decent harvest and a disappointing one. South-facing windows are your best bet if you’re keeping containers inside.
Watering Onions the Right Way
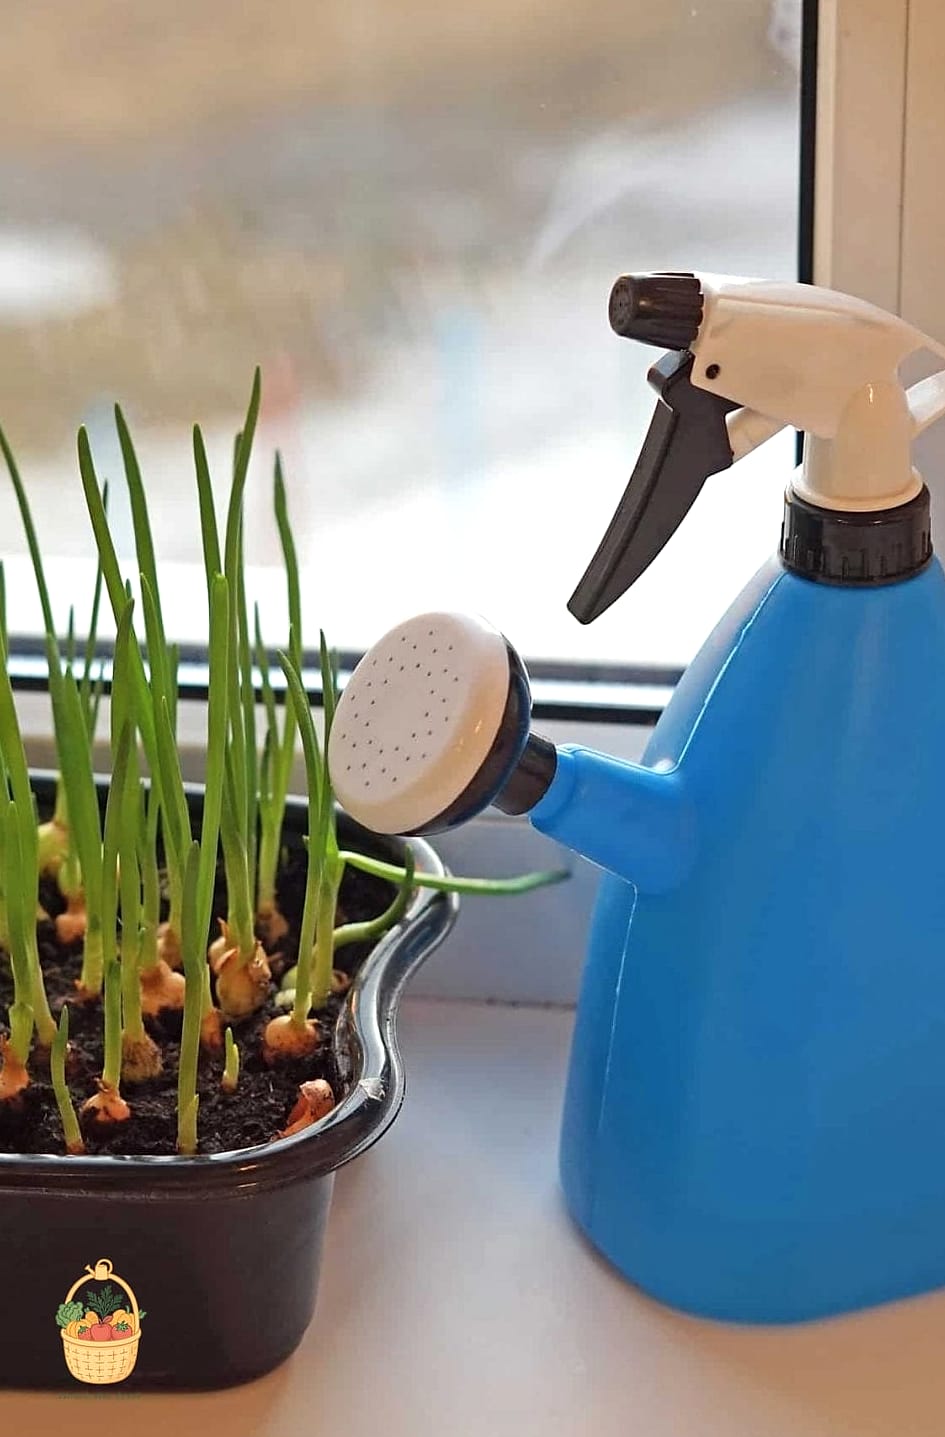
Consistency is the name of the game. Onions like evenly moist soil, not soggy and not bone-dry. Because container soil dries out faster than garden beds, you’ll likely be watering more frequently than you’d expect — sometimes every other day during hot weather.
A simple finger test works fine: if the top inch of soil feels dry, water it. Drip irrigation or a slow, steady pour from a watering can is gentler on the shallow roots than a forceful hose blast. Ease off watering in the final few weeks before harvest, once the tops start yellowing and flopping over — this signals the bulbs are maturing and too much moisture at that stage can actually cause rot.
Fertilizing for Bigger Bulbs
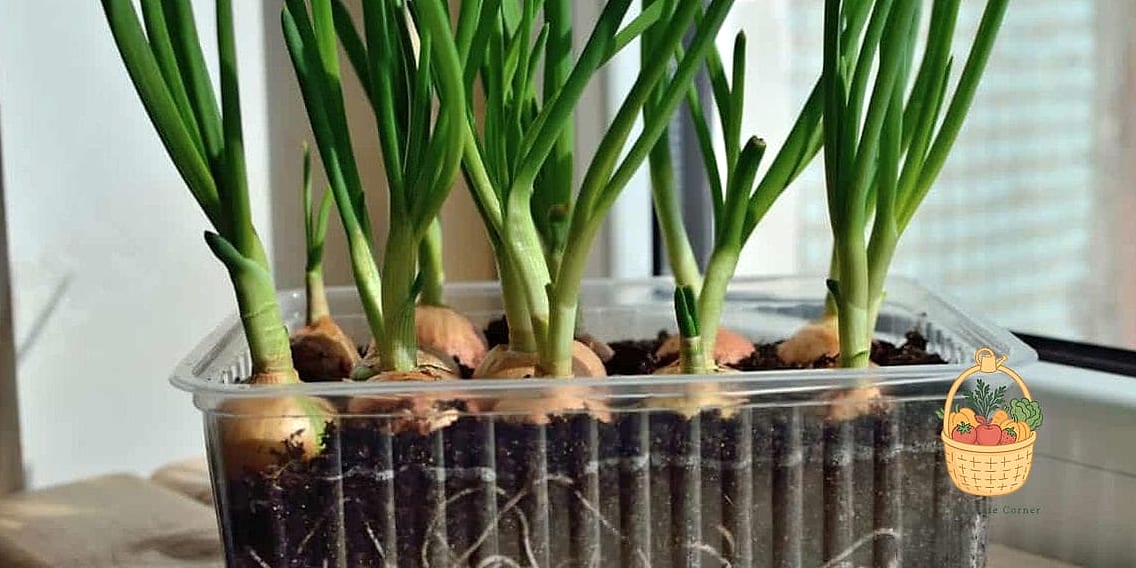
Onions are moderately heavy feeders, especially early in their growth cycle when they’re building out leafy tops. A balanced slow-release fertilizer mixed into the soil at planting time gives them a good foundation.
Once they’re established, switch to a liquid fertilizer every few weeks, favoring one higher in nitrogen during the leafy growth phase. Cut back on nitrogen once bulbs start forming, and shift toward phosphorus and potassium to support bulb development rather than more foliage. Feeding too much nitrogen too late in the season is one of the more common mistakes — it delays bulbing and gives you great-looking tops with disappointing bulbs underneath.
Common Pests and Problems
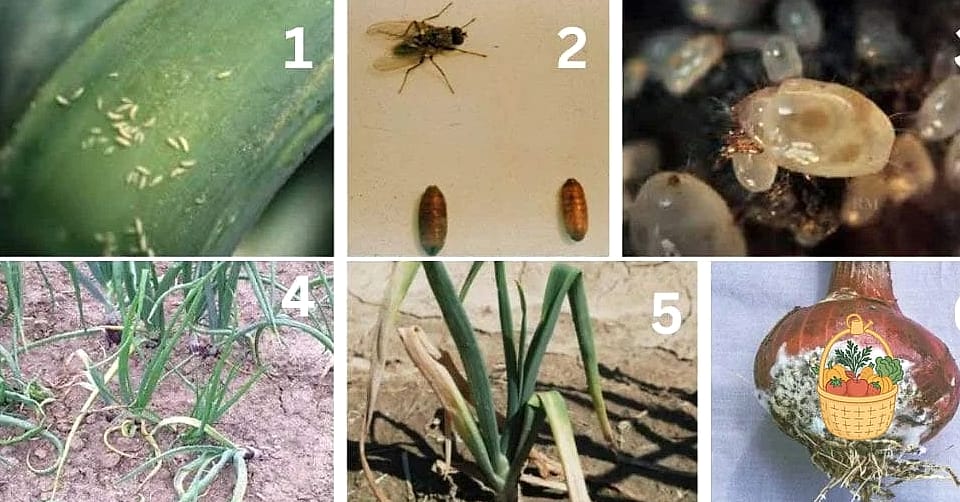
Container growing cuts down on a lot of pest pressure, but it’s not a total shield. Aphids and thrips occasionally show up, especially if the onions are stressed from inconsistent watering. A blast of water or insecticidal soap usually handles them without much fuss.
Yellowing leaves can mean a few different things — sometimes it’s natural maturation near harvest time, sometimes it’s overwatering, and sometimes it’s a nitrogen deficiency. Look at the pattern and timing before you panic. Root rot is the bigger threat in containers, almost always tied to poor drainage or overwatering, so if you’re seeing mushy bulbs, that’s your soil setup talking.
Companion Planting in Containers
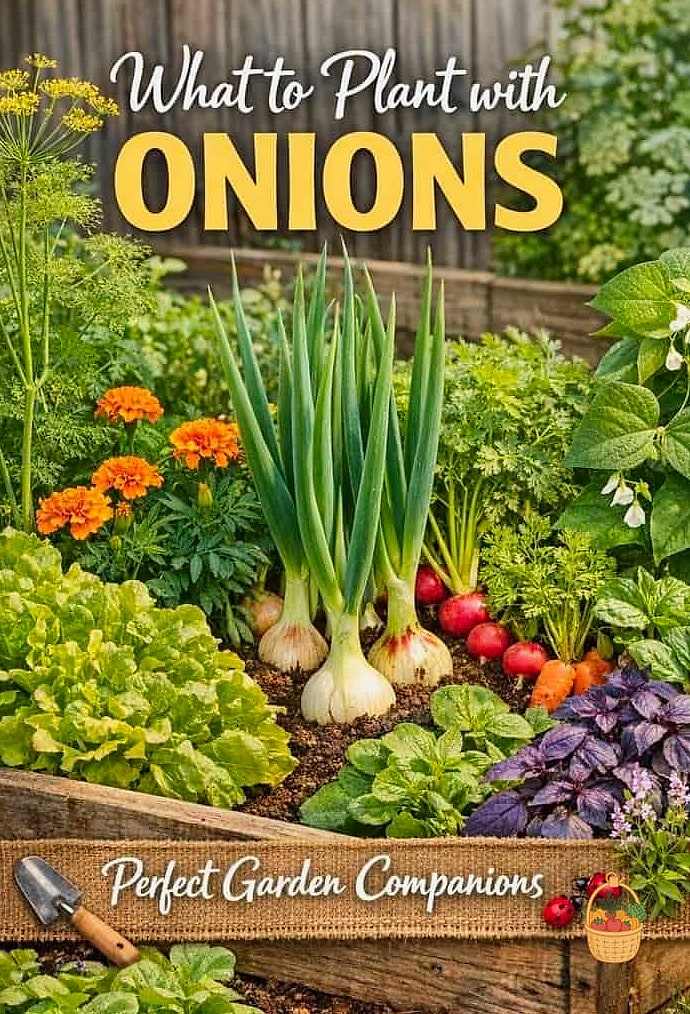
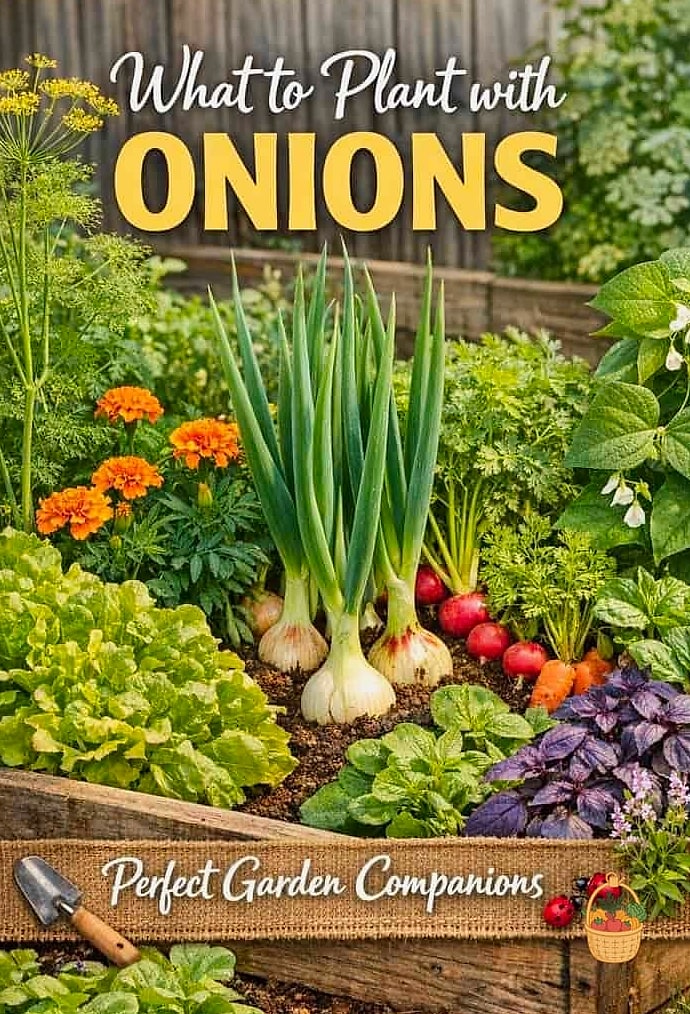
Even in pots, companion planting has its perks. Onions pair nicely with carrots, beets, and lettuce, and they’re known to help deter certain pests thanks to their strong scent — aphids and some beetles tend to steer clear.
Avoid pairing them with beans or peas, though, since onions can stunt their growth. If you’re working with a larger trough-style container, tucking a few marigolds in alongside your onions adds a pollinator-friendly touch and some extra pest deterrence without taking up much root space.
When and How to Harvest
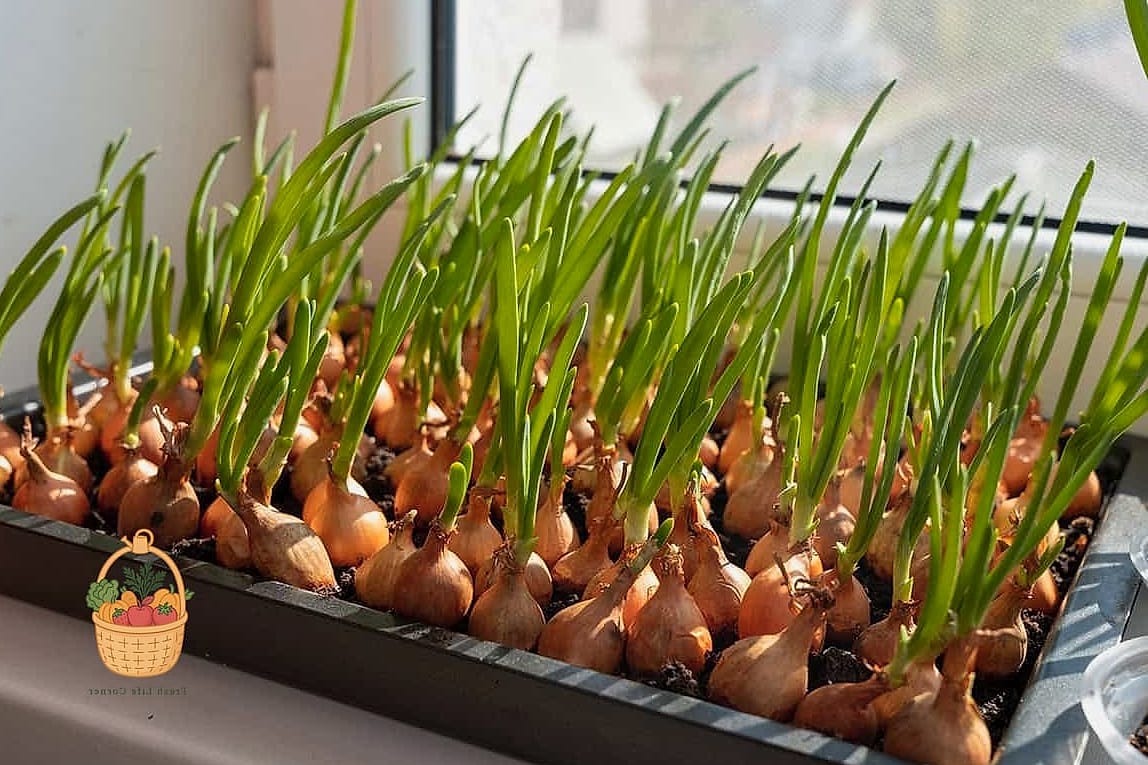
You’ll know onions are ready when the green tops start yellowing, bending over, and eventually drying out. This usually happens somewhere between 90 and 120 days after planting, depending on the variety and your growing conditions.
Gently loosen the soil and lift the bulbs out rather than yanking on the tops. After harvesting, let them cure in a dry, well-ventilated spot out of direct sun for one to two weeks. This step matters more than people realize — properly cured onions store far longer than ones tossed straight into the pantry.
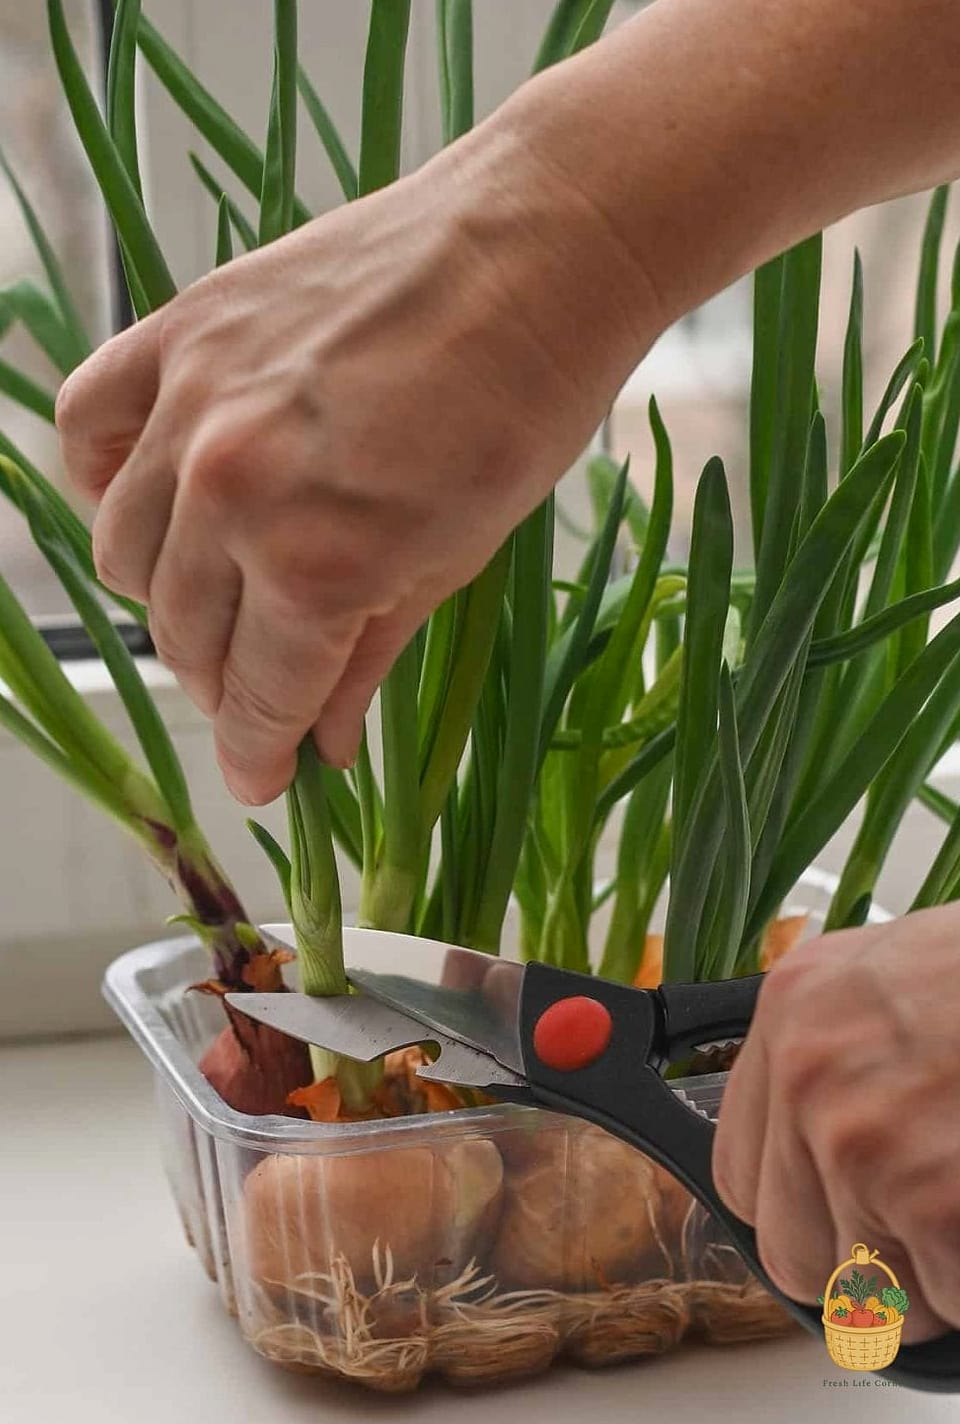
If you’re growing scallions or bunching onions, you can skip the curing step entirely and just harvest as needed, snipping what you want and letting the rest keep growing.
Seasonal Care Notes
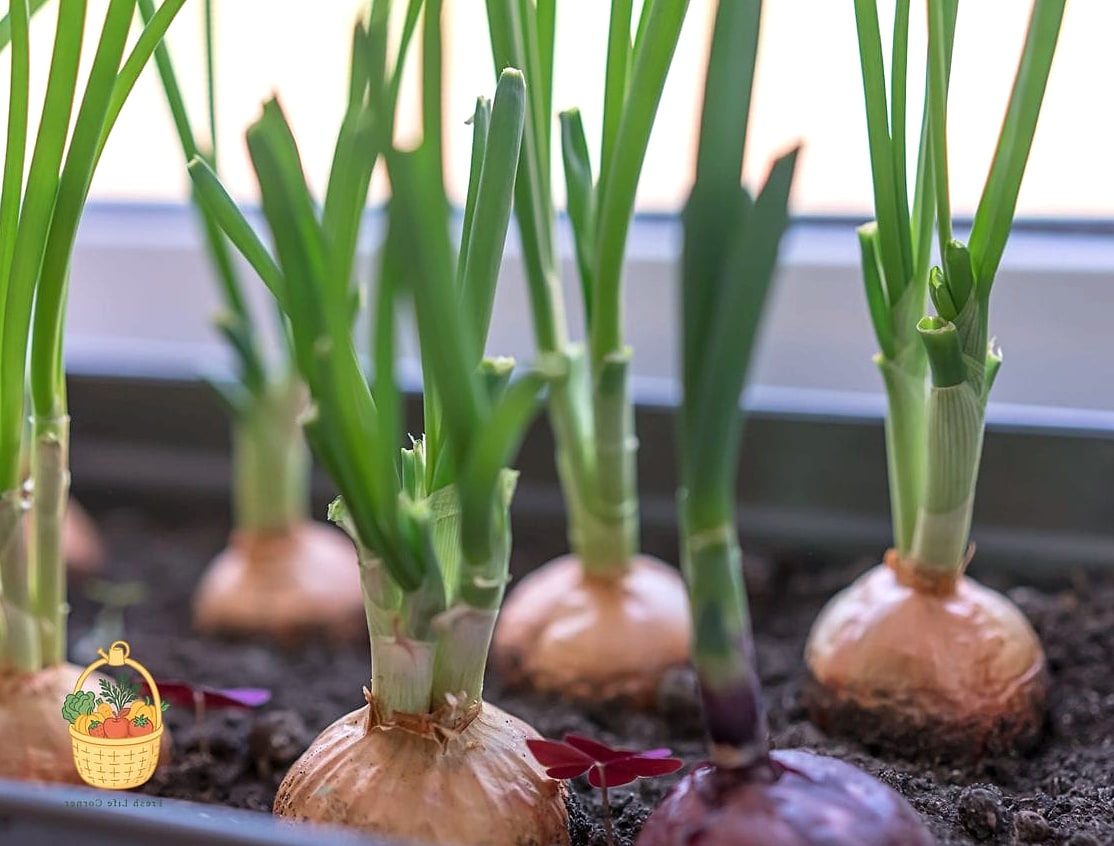
Spring planting is the standard route for most gardeners, but fall planting works in milder climates where winters don’t dip into hard freezes. If you’re in a colder zone and want to overwinter onions in containers, move the pots somewhere sheltered, like against a house wall or into an unheated garage, to protect the shallow roots from freeze damage.
Summer is mostly about consistent watering and keeping an eye on fertilizer timing. Once fall arrives and harvest is done, refresh your container soil before replanting — reusing depleted soil is a fast track to weak, small bulbs the next round.
Final Thoughts
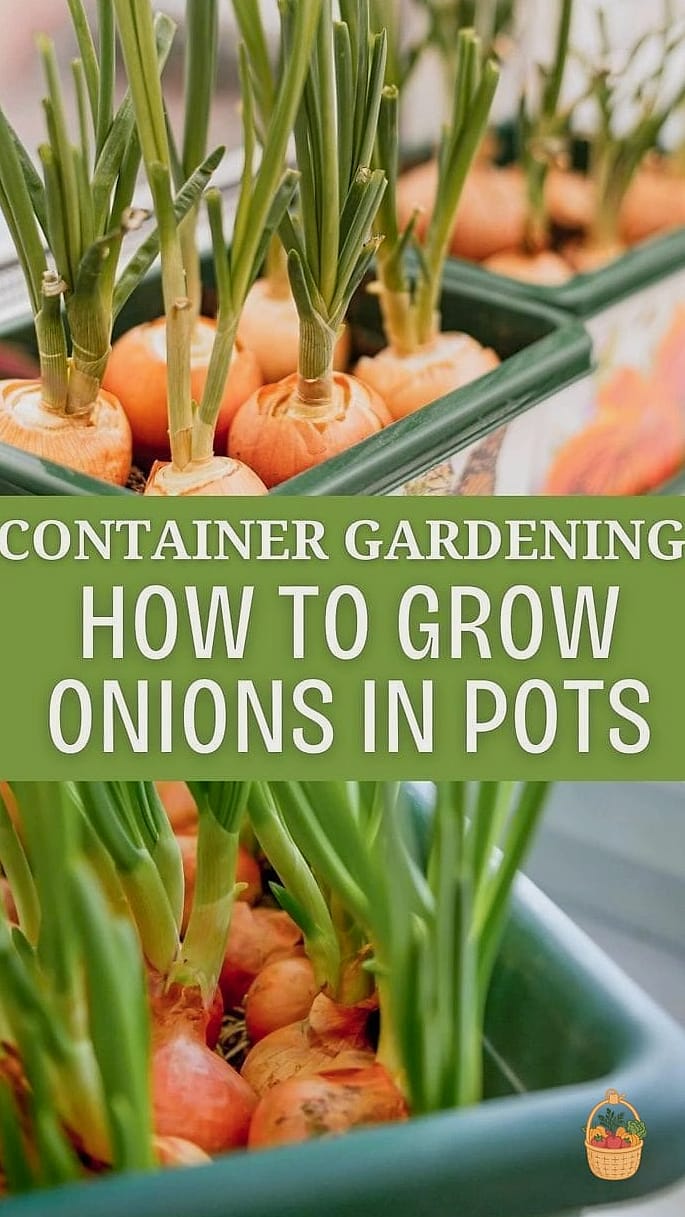
Growing onions in containers really is one of those low-fuss, high-reward projects. Once you’ve got the container size, soil, and watering rhythm figured out, the rest pretty much takes care of itself. It’s a great project for beginner gardeners who want a taste of success without a huge learning curve, and experienced growers tend to appreciate how much control containers offer over soil quality and pest pressure.
Give it a season, pay attention to sunlight and watering consistency, and you’ll likely find yourself with a decent onion harvest and a new favorite container crop.