How To Grow Carrots In Containers — The Complete Beginner’s Guide
- Why Grow Carrots In Containers At All
- Choosing The Right Container
- The Soil Mix That Actually Works
- Picking Carrot Varieties Suited For Pots
- Sunlight And Placement
- Watering Carrots Consistently
- Sowing Seeds The Right Way
- Thinning Seedlings Without Guilt
- Fertilizing Without Overdoing It
- Common Pests And Problems
- Harvesting At The Right Time
- Succession Planting For A Longer Harvest
- Overwintering And Seasonal Notes
- Final Thoughts
How To Grow Carrots In Containers — The Complete Beginner’s Guide
Carrots have a reputation for being fussy about where they grow, and honestly, that reputation isn’t entirely fair. Yes, they want loose soil and consistent moisture, but once you understand what they’re after, growing carrots in containers is one of the more forgiving vegetable projects out there. I’ve grown them on a cramped apartment balcony with nothing but a deep plastic tub, and I’ve grown them in fancy terracotta pots that looked great but dried out way too fast. Both worked, once I stopped fighting the plant’s basic needs.
This guide walks through everything a beginner actually needs to know, without the jargon overload that makes container carrot growing sound harder than it is.
Why Grow Carrots In Containers At All
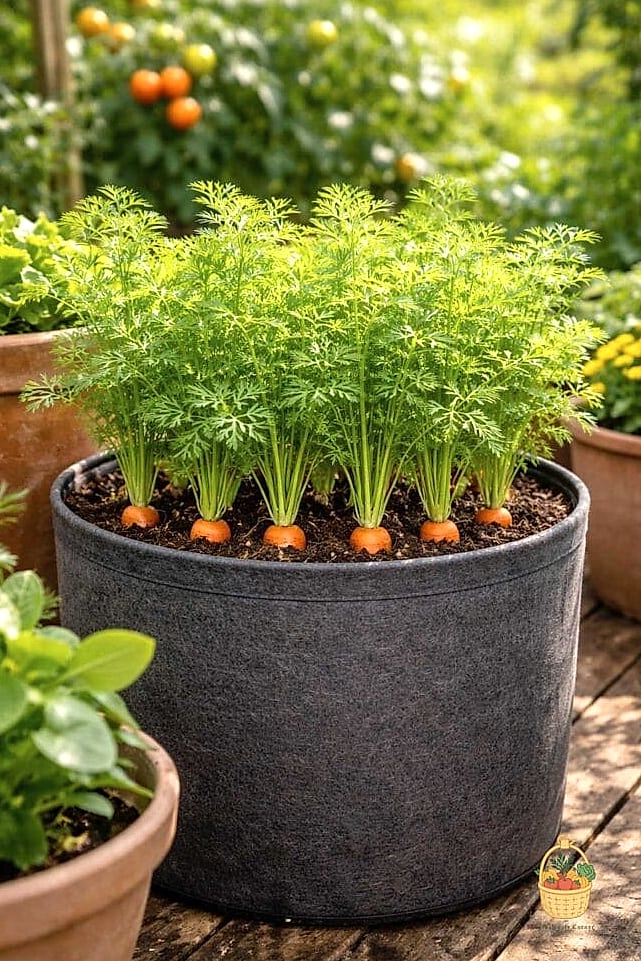
If you’ve got compacted clay soil, rocky ground, or basically no yard to speak of, containers solve the problem entirely. You control the soil from day one, which matters a lot with root vegetables since they’re only as good as the medium they grow in.
Containers also let you sidestep root-knot nematodes and other soil-borne pests that build up in garden beds over time. And there’s something satisfying about pulling a carrot straight out of a pot on your patio — no kneeling in mud required.
Choosing The Right Container
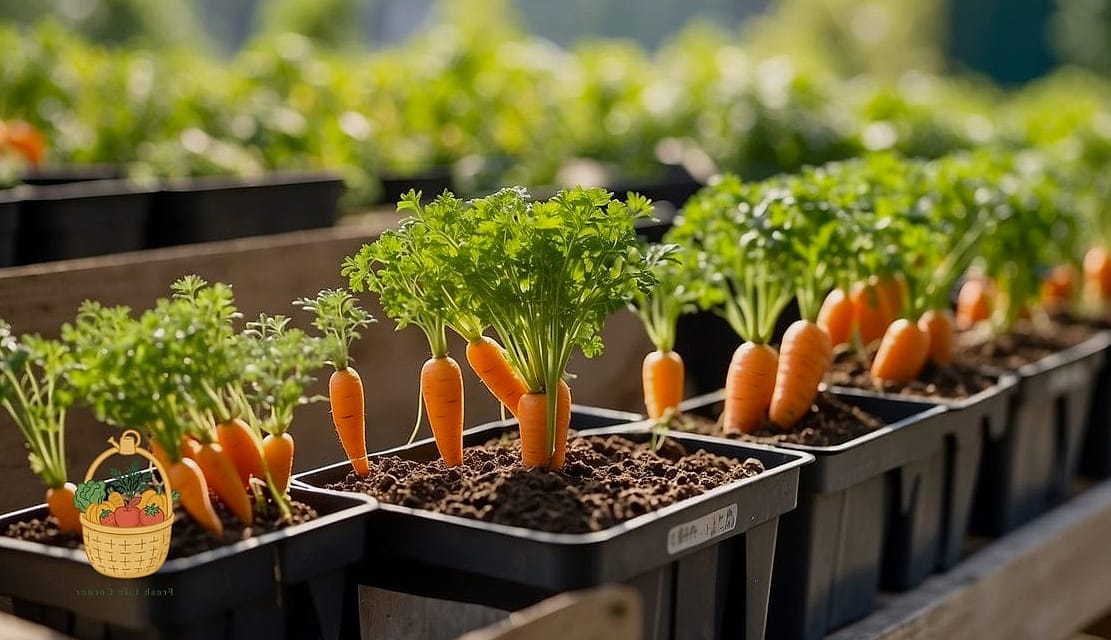
Depth is the single most important factor here, more than material, color, or style. Carrots need room to push straight down, and shallow pots just cause stunted, twisted, or forked roots.
For most standard carrot varieties, aim for a container at least 12 inches deep. If you’re growing shorter round varieties like Parisian or Thumbelina, you can get away with 8 to 10 inches, which is great news if you’re working with limited space.
Width matters too, though less dramatically. A pot that’s 12 to 16 inches wide gives you room for several carrots spaced properly rather than one lonely root rattling around in there. Fabric grow bags work wonderfully because they drain well and let roots breathe, though plastic containers with drilled drainage holes are just as effective and often cheaper.
Whatever you choose, drainage holes are non-negotiable. Carrots sitting in soggy soil are practically begging for root rot.
The Soil Mix That Actually Works
This is where most beginners go wrong, and I get it — garden soil seems like the obvious choice. But regular garden soil compacts in containers and is often too heavy with clay, which is exactly what causes those stubby, forked carrots you see in the “carrot fails” photos online.
Instead, go with a loose, well-draining mix. A combination of quality potting mix, compost, and a bit of coarse sand or perlite gives roots the light, fluffy environment they crave. Some gardeners swear by pure sandy loam for the straightest carrots, and honestly, they’re not wrong — sandy soil offers the least resistance to a growing taproot.
Skip any mix with large chunks of bark, rocks, or unbroken clumps of organic matter. Carrots are sensitive to obstacles, and a rock the size of a pea can send a root veering sideways in a very unflattering way.
Picking Carrot Varieties Suited For Pots
Not every carrot variety loves container life equally, and choosing wisely up front saves a lot of frustration later.
Shorter, rounder varieties like Parisian, Thumbelina, and Chantenay tolerate shallower containers and forgive slightly imperfect soil conditions. Nantes types are a nice middle ground — cylindrical, blunt-tipped, and reasonably tolerant of container growing.
If you’re set on the classic long, tapered Imperator-style carrot (the kind you picture when someone says “carrot”), you’ll need a genuinely deep container and very loose soil to get good results. It’s doable, just less beginner-friendly.
Sunlight And Placement
Carrots want full sun, which typically means six or more hours of direct light daily. That said, in particularly hot climates, a little afternoon shade actually helps prevent the soil from drying out too fast and can reduce bolting.
If you’re growing indoors or in a spot with limited natural light, grow lights can supplement, though outdoor sun is really hard to fully replace for root development. Balconies facing south or west tend to work best in most Northern Hemisphere gardens.
Watering Carrots Consistently
Consistency is the word to remember here. Carrots germinate from seed, and that seedbed needs to stay evenly moist — not soggy, not bone dry — for the one to three weeks it takes for sprouts to appear.
Once established, deep, less frequent watering encourages roots to grow downward rather than staying shallow. A drip irrigation setup or a simple watering can with a gentle rose attachment both work well. Container soil dries out faster than garden beds, so check moisture daily during hot stretches, sticking a finger an inch into the soil to test it.
Underwatering leads to small, woody, bitter carrots. Overwatering invites rot and can cause splitting once the roots finally do get a good soak after a dry spell. Neither extreme does you any favors.
Sowing Seeds The Right Way
Carrots don’t transplant well because disturbing that developing taproot early on tends to cause deformities, so direct sowing into the final container is really the way to go.
Scatter seeds thinly across the soil surface, then cover with about a quarter inch of fine soil or vermiculite. Carrot seeds are tiny and slow to germinate, so patience is genuinely part of the process here — I’ve had batches take almost three weeks to show any sign of life.
Keeping the surface consistently moist during germination makes a bigger difference than almost anything else you’ll do. Some gardeners lay a damp burlap sack or board over the soil to retain moisture, checking daily and removing it the moment sprouts appear.
Thinning Seedlings Without Guilt
This step feels wasteful the first time you do it, but it’s essential. Carrot seeds get sown thickly because germination rates vary, which means you’ll end up with way more seedlings than you actually want growing to maturity.
Once seedlings reach about 2 inches tall, thin them to roughly 2 to 3 inches apart. Crowded carrots compete for space underground and end up small, twisted, or just never fully developing.
Use small scissors to snip unwanted seedlings at soil level rather than pulling them, since pulling can disturb the roots of the carrots you’re keeping.
Fertilizing Without Overdoing It
Carrots are actually pretty light feeders, and this trips people up because heavy nitrogen fertilization is exactly the wrong move. Too much nitrogen pushes lush, leafy tops at the expense of root development, giving you gorgeous foliage and disappointing carrots underneath.
Working compost into the soil before planting usually provides enough baseline nutrition. If you want to supplement, a balanced or slightly phosphorus-and-potassium-leaning liquid fertilizer applied lightly every few weeks supports root growth without overdoing the greens.
Slow-release fertilizers formulated for root vegetables work well too, applied sparingly at planting time.
Common Pests And Problems
Carrot fly is probably the most notorious pest, drawn to the scent released when carrot foliage gets bruised or thinned. A floating row cover over your containers keeps adults from laying eggs near the plants, which is far easier than dealing with tunneled roots later.
Aphids occasionally show up on the leafy tops, and a strong spray of water or insecticidal soap usually handles small infestations before they spread. Spider mites can appear in hot, dry conditions, so keeping humidity reasonable and checking leaf undersides helps catch them early.
Forked or stunted roots usually trace back to rocky soil, compacted mix, or overcrowding rather than pests, so if you see misshapen carrots, soil texture is the first thing worth reconsidering next season.
Yellowing leaves often point to inconsistent watering or a nitrogen deficiency, though it can also simply mean the plant is maturing, so don’t panic at the first yellow leaf you spot.
Harvesting At The Right Time
Most carrot varieties are ready somewhere between 60 and 80 days after sowing, though checking the seed packet for your specific variety is worth doing since timing varies a fair bit.
The shoulders of the carrot often peek up through the soil surface as they mature, giving you a visual cue. Gently brush soil aside to check the diameter — a carrot around a half inch to three-quarters of an inch across at the top is usually ready, depending on variety.
Water the container the day before harvesting if the soil’s on the dry side, since damp soil releases carrots far more easily than dry, compacted mix, and you’re less likely to snap the root pulling it out.
Succession Planting For A Longer Harvest
One trick that took my carrot growing from “one big harvest” to “steady supply” was succession planting. Instead of sowing an entire container at once, sow a small batch every two to three weeks through the growing season.
This staggers maturity so you’re not drowning in carrots one week and out the next. It also spreads out the workload of thinning and monitoring, which is honestly a nice bonus if you’re managing several containers at once.
In milder climates, fall and even winter sowings are possible with some frost protection, since carrots actually sweeten up a bit after light frost exposure.
Overwintering And Seasonal Notes
If you’re in a region with mild winters, carrots can often stay in their containers through cooler months, protected by a layer of mulch over the soil surface. This is one case where the container actually gives you an advantage over in-ground growing, since you can move pots to a sheltered spot if a hard freeze is coming.
In colder zones, it’s generally better to harvest before the ground freezes solid, since frozen container soil doesn’t offer much protection for the roots inside such a small volume of soil.
Final Thoughts
Growing carrots in containers really comes down to a handful of fundamentals: deep enough pots, loose well-draining soil, consistent moisture during germination, and patience while those slow seeds do their thing. Get those basics right and the rest tends to fall into place.
There’s a particular kind of satisfaction in pulling a carrot from a pot you filled yourself, especially the first time it comes out straight and unblemished. It won’t happen perfectly every time — mine certainly don’t — but that’s part of what makes gardening enjoyable rather than a chore. Give it a season, adjust based on what you see, and you’ll likely find container carrots become one of the more reliable crops in your growing rotation.