How To Grow & Care For Norfolk Island Pine Indoors — Tips and Tricks That Actually Work
How To Grow & Care For Norfolk Island Pine Indoors — Tips and Tricks That Actually Work
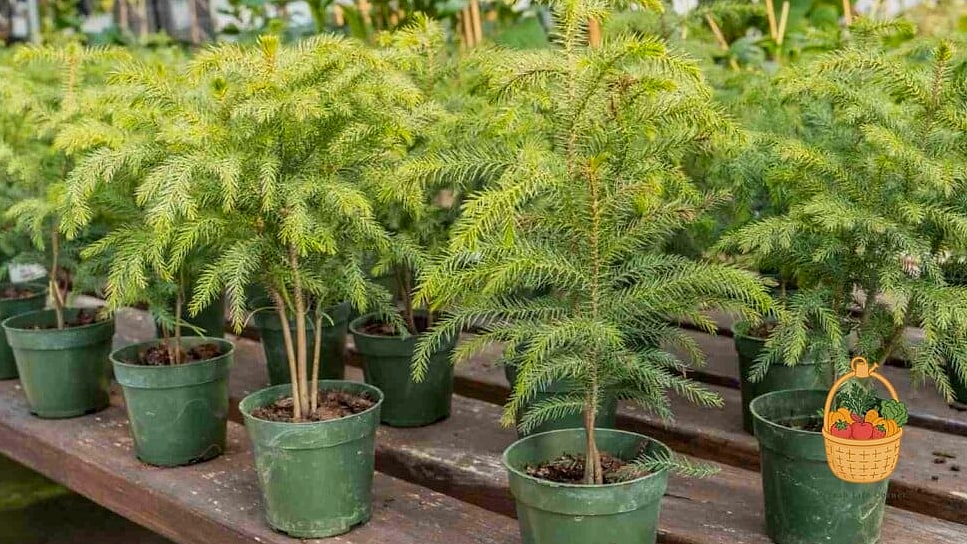
If you’ve ever bought a tiny, perfectly symmetrical pine tree around the holidays and wondered whether it could survive past January, chances are you were looking at a Norfolk Island pine. Despite the name, it’s not actually a true pine — it’s a subtropical conifer from a tiny island in the South Pacific — but it plays the part of a Christmas tree so well that garden centers sell millions of them every winter.
The good news is that this plant is far more than a seasonal decoration. Grown right, a Norfolk Island pine can live for decades indoors, slowly turning into an elegant, tiered houseplant that looks like a little piece of a rainforest canopy sitting in your living room. It’s not a difficult plant, but it does have a few quirks that trip people up, so let’s get into what actually works.
Why Gardeners Love It
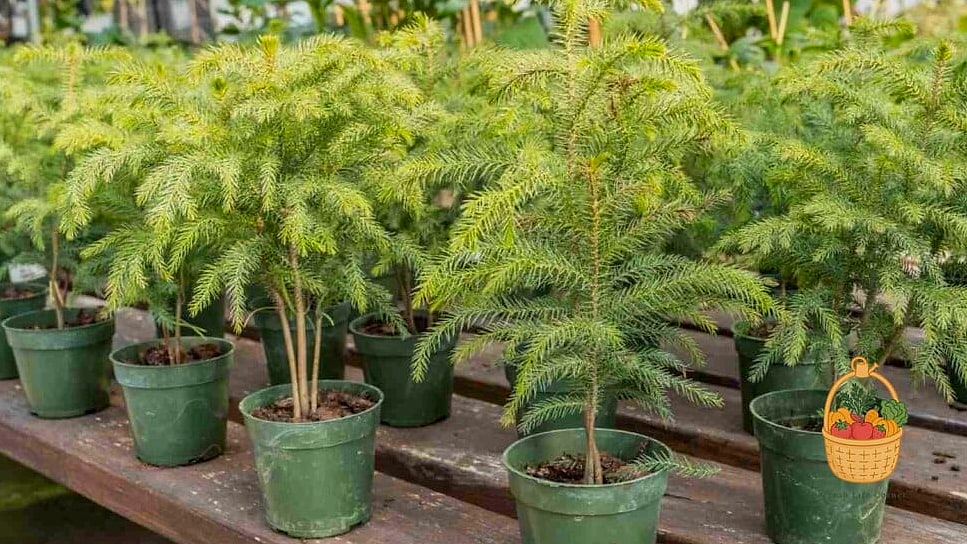
There’s something about the architecture of this plant that draws people in. The branches grow in symmetrical, horizontal tiers around a single central trunk, giving it that classic Christmas-tree silhouette without any pruning or shaping required on your part.
It also brings a bit of the tropics indoors in a way that feels calm rather than showy. Unlike a lot of trendy houseplants that demand constant fussing, Norfolk Island pine is content to sit in a bright corner and slowly do its thing.
Plenty of gardeners also love it because it fills the “living Christmas tree” niche. You can decorate it with mini lights and ornaments in December, then let it go back to being a normal houseplant for the rest of the year.
Key Features and Appearance
In its native habitat, Norfolk Island pine (Araucaria heterophylla) can reach well over 100 feet tall, which sounds terrifying until you realize indoor growing keeps it modest — usually somewhere between 3 and 8 feet in a home, and only after many years.
The needles are soft rather than sharp, which makes this a nice pick if you have kids or pets who like to investigate plants up close. New growth tends to emerge a lighter, almost lime green before darkening slightly with age.
One thing worth knowing upfront: this tree grows from a single leader at the top. If that main growing tip gets damaged or cut, the plant won’t send up a new one, and its classic shape is gone for good. So this isn’t really a plant for pruning to control height.
Growing Conditions
Bright, indirect light is the name of the game here. A spot near an east or west-facing window works well, and a little direct morning sun is fine too. What it doesn’t love is deep shade — the lower branches will start dropping if light is consistently too low.
Rotate the pot a quarter turn every week or two. Norfolk Island pines are famously phototropic, meaning they’ll lean hard toward the nearest light source if you let them, and a lopsided tree loses a lot of its charm.
Temperature-wise, this plant likes what most people like: somewhere between 65 and 75°F during the day, with a slight drop at night. It’s not frost hardy at all, so if it spends summer outdoors on a patio, bring it in well before temperatures dip into the 40s. USDA zones 10 and 11 are about the only places this tree can live outside year-round; everywhere else, it’s strictly a houseplant.
Humidity matters more than people expect. These trees evolved in a humid island climate, and dry indoor air — especially from winter heating — is one of the most common reasons needles start browning at the tips. A pebble tray, a small humidifier, or just grouping it with other plants can make a real difference.
Soil and Watering Needs
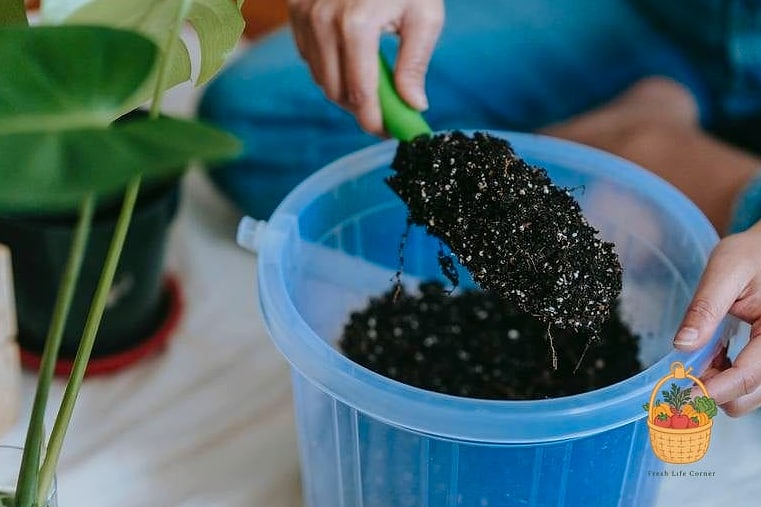
Well-draining soil is essential. A standard potting mix with a bit of perlite or coarse sand worked in gives the roots the drainage they need while still holding enough moisture. Straight garden soil is too dense and holds water in a way that invites trouble.
Water when the top inch or so of soil feels dry to the touch. Stick a finger in before reaching for the watering can — this plant would rather be slightly underwatered than sitting in soggy soil. Overwatering is genuinely the number one killer of Norfolk Island pines kept indoors.
Always use a pot with drainage holes. If you’ve fallen for a decorative pot without one, keep the plant in its nursery container and set that inside the decorative pot, dumping out any excess water that collects after watering.
Yellowing lower branches are often a watering complaint rather than a lighting one, so if you notice that happening, check your watering habits before you start moving furniture around to chase better light.
Fertilizing and Pruning
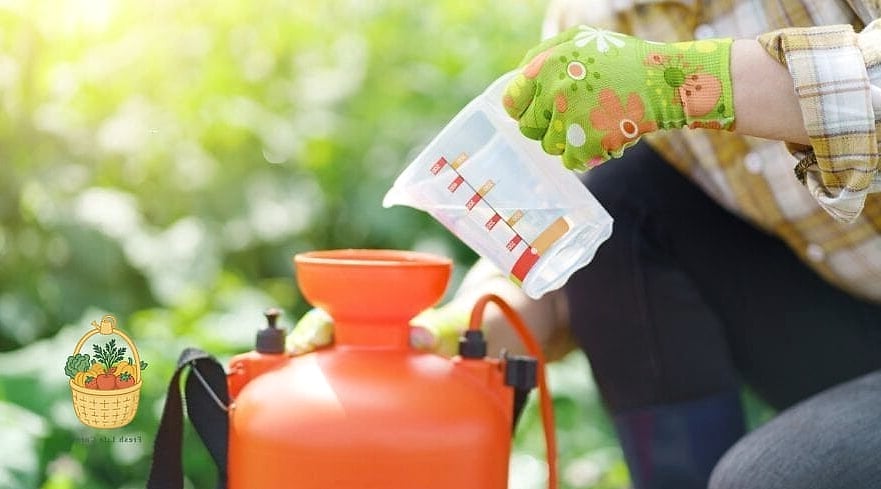
During spring and summer, when the tree is actively growing, feed it every four to six weeks with a balanced liquid fertilizer diluted to about half strength. Full-strength fertilizer can be too much for the relatively slow root system to handle.
Ease off completely in fall and winter. The plant’s growth naturally slows down as daylight hours shrink, and pushing fertilizer during dormancy does more harm than good.
As for pruning, there isn’t much to do — and that’s kind of the point. You can snip off a fully dead or damaged lower branch at the trunk if needed, but avoid cutting healthy branch tips or, worst of all, the central leader at the top. Removing that top growth point permanently changes the tree’s shape, and it won’t grow a replacement leader the way some other plants would.
Common Problems and Solutions
Brown needle tips are usually a humidity or watering issue. Check that the air around the plant isn’t too dry, especially near heating vents, and make sure you’re not letting the soil dry out completely between waterings.
Dropping lower branches is common as the tree matures and is sometimes just a natural part of aging — older Norfolk Island pines in the wild lose their lowest tiers too. But if it’s happening rapidly on a younger tree, low light or inconsistent watering is the more likely culprit.
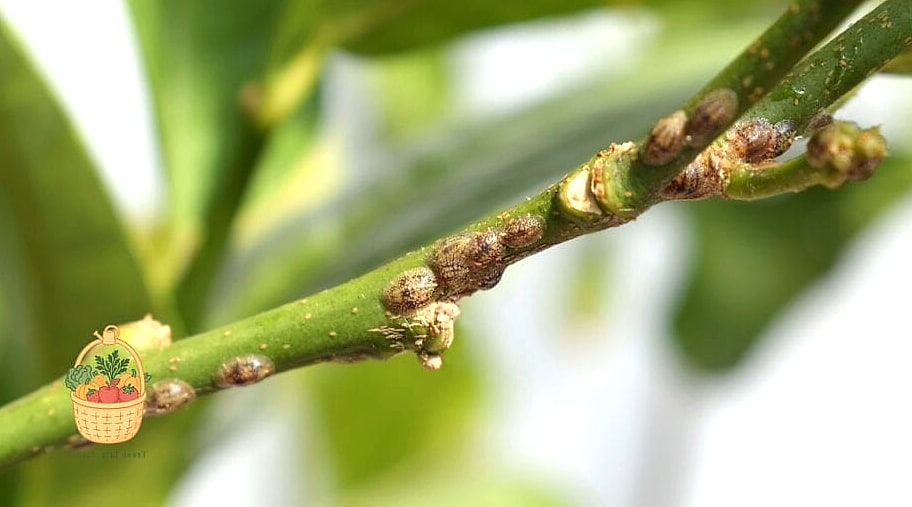
Pests aren’t usually a huge problem, but spider mites and mealybugs can show up, particularly on a stressed or overly dry plant. A gentle wipe-down with a damp cloth, or an insecticidal soap for a heavier infestation, usually handles it. Avoid harsh chemical sprays, since the soft needles can be sensitive.
Root rot is the scarier issue, and it traces straight back to overwatering and poor drainage. If you catch a sour smell from the soil or notice the trunk feels soft near the base, it’s worth unpotting the plant, trimming away any mushy black roots, and repotting into fresh, well-draining mix.
Speaking of repotting — this tree doesn’t need it often. Every two to three years, moving up one pot size in spring is usually plenty. Norfolk Island pines actually seem to do a little better when slightly root-bound rather than swimming in a pot that’s too large.
Propagation Tips
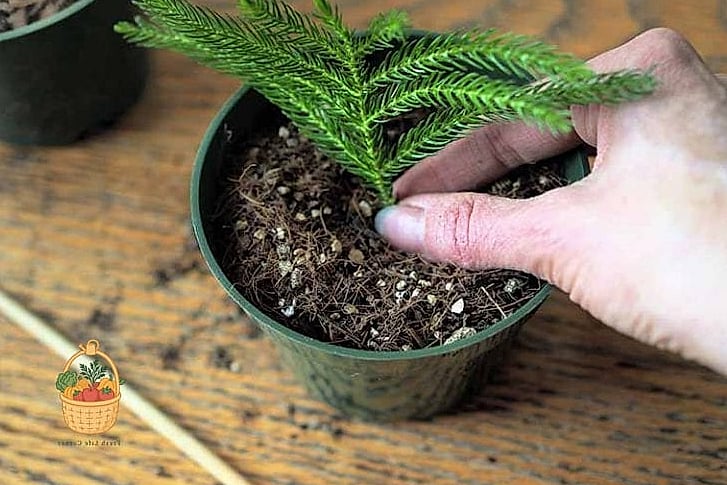
I’ll be honest with you: propagating Norfolk Island pine at home is tricky, and most casual growers don’t bother. Seeds are the most reliable method, but they need to be fresh, since viability drops fast, and germination can take a while even under ideal conditions.
Cuttings are possible in theory but come with a catch. If you take a cutting from a side branch rather than the main leader, the resulting plant often grows sideways instead of forming that classic upright, tiered shape. Cuttings from the top leader are what nurseries use for true-to-form new plants, but that means sacrificing the very growing tip you don’t want to lose on your existing tree.
For most home gardeners, buying a small nursery-grown tree is honestly the more practical route, and then just enjoying the slow, decades-long process of watching it fill out.
Final Thoughts

Norfolk Island pine has this reputation as a doomed holiday purchase, destined for the compost pile by February — but that’s really more about how it’s cared for than anything inherent to the plant. Give it bright indirect light, don’t drown its roots, and keep the humidity from crashing during winter, and you’ve got a houseplant that can genuinely outlast a lot of the furniture around it.
It’s not a plant that asks for much fuss. No elaborate pruning schedule, no complicated feeding routine, no need to coax it into a particular shape. Mostly it just wants to be left alone in a bright spot with steady, sensible watering. That combination of low demands and high visual payoff is exactly why so many plant lovers end up keeping theirs for years, long after the ornaments have been packed away.