How To Grow Radishes In Containers — Your Step-by-Step Guide to Success
- Why Radishes Are Perfect for Container Gardening
- Choosing the Right Container
- Picking the Best Radish Varieties for Pots
- Getting the Soil Right
- Sunlight and Placement
- Planting Your Radish Seeds
- Watering Radishes in Containers
- Feeding Your Radishes
- Common Problems and How to Fix Them
- Harvesting at the Right Time
- Succession Planting for a Continuous Harvest
How To Grow Radishes In Containers — Your Step-by-Step Guide to Success
If you’ve ever wanted a vegetable that rewards you fast, radishes are it. Most varieties go from seed to harvest in three to four weeks, which makes them one of the most satisfying crops you can grow, especially in pots on a patio or balcony. This guide walks you through everything you need to know to grow radishes in containers successfully, from picking the right pot to troubleshooting the occasional flop.
Why Radishes Are Perfect for Container Gardening
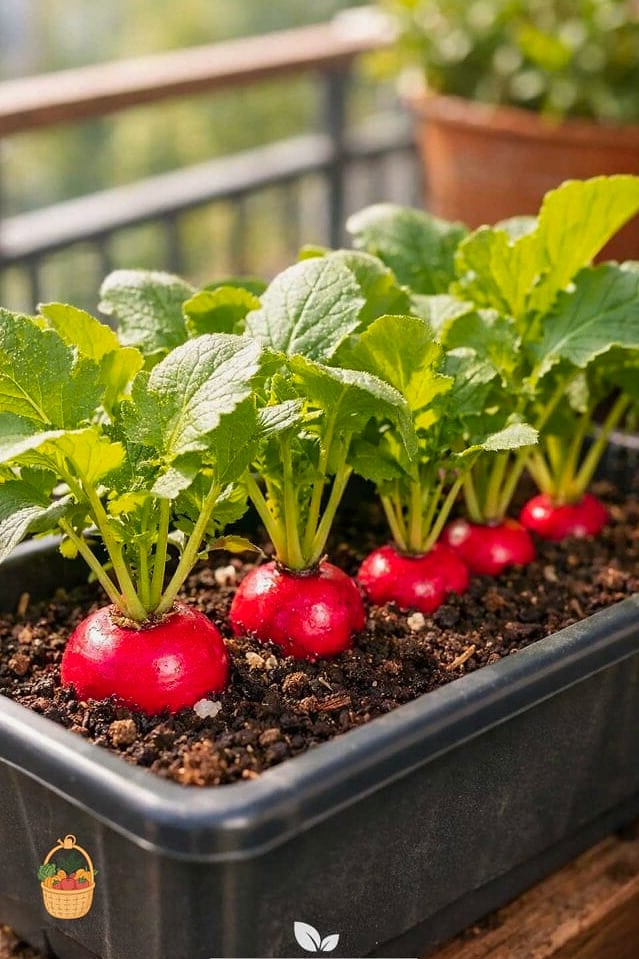
Radishes have shallow roots and a short growing season, which makes them naturally suited to pots. You don’t need a big raised bed or a sprawling backyard plot to get a real harvest.
They’re also forgiving. Unlike tomatoes or peppers, radishes don’t demand months of babying. Plant them, water consistently, and in a few weeks you’ll be pulling up crisp little roots for salads and snacking.
For beginner gardeners, this is about as close to instant gratification as vegetable gardening gets.
Choosing the Right Container

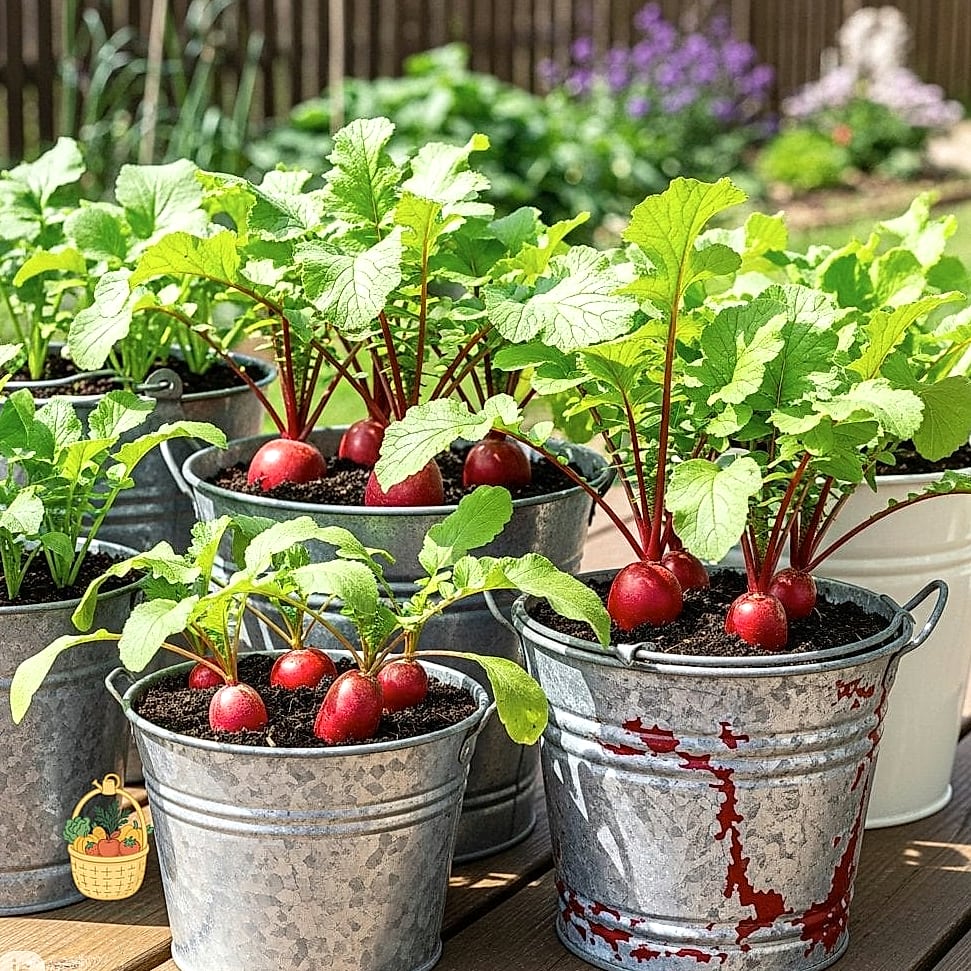
Depth matters more than width here. Most radish varieties need a container that’s at least 6 to 8 inches deep, though longer varieties like French Breakfast or Daikon-style radishes may want closer to 10 to 12 inches.
Width is flexible — you can grow a dense little crop in a container as small as 10 inches across, or go bigger and space out multiple rows. Wide, shallow window boxes work beautifully for round varieties like Cherry Belle.
Whatever you choose, drainage holes are non-negotiable. Radishes hate sitting in soggy soil, and poor drainage is one of the fastest ways to end up with rot instead of roots.
Terracotta pots are a solid choice since they breathe and help prevent overwatering, though plastic containers work fine too as long as they drain well.
Picking the Best Radish Varieties for Pots
Not all radishes are created equal when it comes to container life. Fast-maturing, compact varieties tend to do best.
Cherry Belle is a classic starter variety — round, red, and ready in about 22 days. French Breakfast has an elongated shape and a slightly milder flavor, maturing in around 25 to 30 days. If you’re feeling adventurous, watermelon radishes are gorgeous when sliced open, though they take longer and need a deeper pot.
Daikon radishes can technically be grown in containers, but honestly, unless you’ve got a genuinely deep pot (think 12 to 18 inches), I’d steer beginners toward the smaller varieties first.
Getting the Soil Right
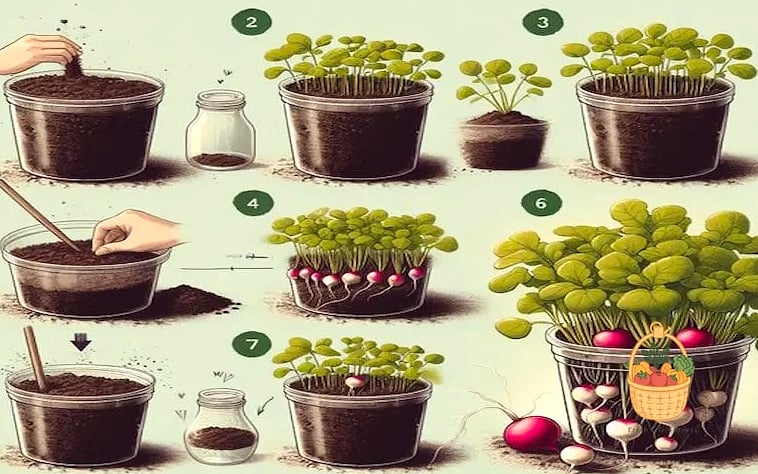
Radishes want loose, well-draining soil that lets their roots expand without resistance. Dense, compacted soil is a common reason radishes come out stunted, forked, or oddly shaped.
A quality potting mix amended with compost is ideal. Avoid heavy garden soil or clay soil straight from the ground — it compacts in containers and doesn’t drain the way radishes need.
Aim for a slightly acidic to neutral pH, somewhere around 6.0 to 7.0. Mixing in some perlite or coarse sand can help with drainage if your potting mix feels dense.
Sunlight and Placement
Radishes want full sun — at least 6 hours a day — though they’ll tolerate partial shade, especially in hotter climates where afternoon sun can stress the plants.
If you’re growing in a particularly hot region, a spot with morning sun and light afternoon shade can actually prevent the roots from turning tough or overly spicy from heat stress.
Indoors, radishes can struggle without enough natural light. If you’re growing them on a windowsill, a grow light can make a real difference, especially during shorter winter days.
Planting Your Radish Seeds
Sow seeds directly into the container about half an inch deep. Radishes don’t transplant well, so skip starting them indoors in trays — direct sowing is the way to go.
Space seeds roughly 1 to 2 inches apart. It’s tempting to scatter them generously, but crowded radishes compete for space and often produce small, misshapen roots.
Once seedlings emerge and reach about an inch tall, thin them out so each plant has room to bulk up underground. I know it feels wasteful pulling out perfectly good seedlings, but this step genuinely makes the difference between marble-sized radishes and ones actually worth eating.
Watering Radishes in Containers
Consistent moisture is the name of the game. Radishes grown in containers dry out faster than those in the ground, simply because there’s less soil volume holding water.
Water whenever the top inch of soil feels dry, which in warm weather might mean daily watering. Inconsistent watering — letting the soil dry out completely, then soaking it — is one of the most common reasons radishes turn woody, cracked, or overly pungent.
A watering can with a gentle spout works well for even moisture without disturbing the seedlings. Drip irrigation is also a great option if you’re growing several containers at once.
Feeding Your Radishes
Radishes aren’t heavy feeders, but a little support goes a long way. Mix compost into the soil before planting to give them a nutrient base to start with.
If your potting mix is on the leaner side, a diluted liquid fertilizer every couple of weeks can help, though go easy on nitrogen. Too much nitrogen encourages lush green tops at the expense of the root, which is exactly the opposite of what you want.
A balanced, slow-release fertilizer worked into the soil at planting time is often all you need for the entire growing cycle, given how quickly radishes mature.
Common Problems and How to Fix Them
A few issues pop up again and again with container-grown radishes, and most are easy to correct once you know what’s causing them.
Forked or oddly shaped roots usually mean compacted soil or rocks in the potting mix blocking growth. Loosen the soil and remove debris before planting next time.
All leaves, no root is typically a sign of too much nitrogen or insufficient sunlight — the plant is putting its energy into foliage instead of the root below.
Cracked or woody radishes almost always trace back to inconsistent watering or leaving radishes in the ground too long past maturity. Harvest promptly once they’re ready.
Aphids can occasionally show up on the leafy tops. A strong spray of water or a light application of insecticidal soap usually clears them up without needing anything harsh.
Harvesting at the Right Time
Radishes are ready faster than most gardeners expect, which is honestly part of the charm. Check the seed packet for the specific variety’s days-to-maturity, then start peeking at the soil surface once you’re close.
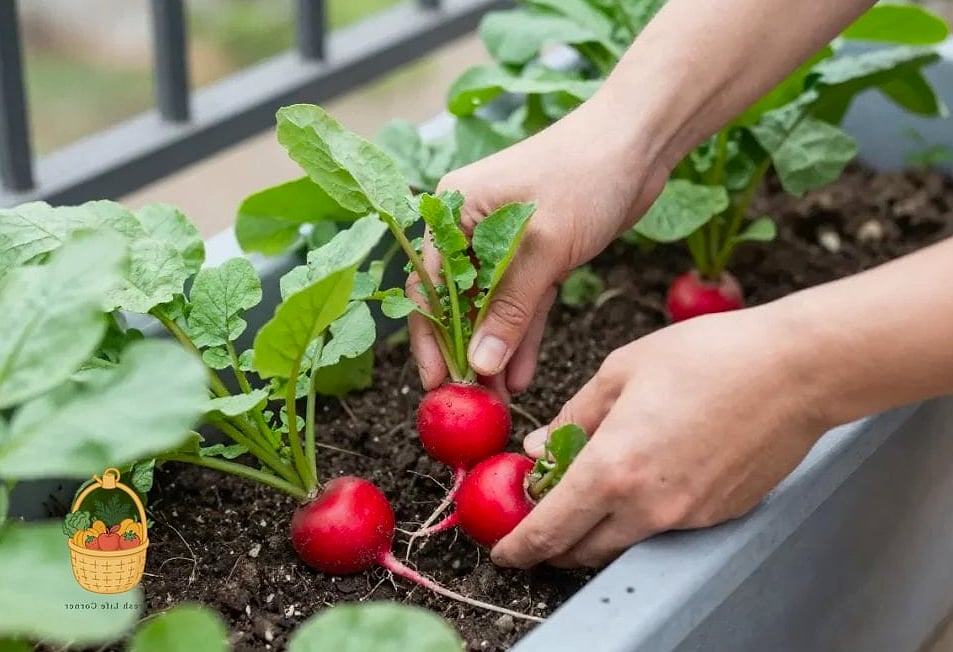
You’ll often see the top of the radish poking through the soil when it’s ready. Gently pull one to check size — if it’s smaller than expected, give the rest another few days.
Don’t wait too long, though. Overripe radishes turn pithy and overly spicy, losing that crisp, peppery-sweet bite that makes them worth growing in the first place.
Succession Planting for a Continuous Harvest
Because radishes mature so quickly, one of the best tricks for container growing is succession planting. Sow a new batch of seeds every one to two weeks, and you’ll have a rolling harvest instead of one big batch all at once.
This is especially handy if you only have one or two containers. As soon as you pull a round of radishes, refresh the soil with a bit of compost and sow again right away.
Spring and fall tend to be the sweet spots for radish growing, since they prefer cooler temperatures. Summer heat can cause radishes to bolt or turn unpleasantly spicy, so if you’re gardening somewhere with hot summers, plan your succession plantings around the cooler shoulder seasons.
Final Thoughts
Growing radishes in containers is one of the easiest ways to get a quick, genuine win in the garden, especially if you’re new to growing your own food. With the right pot, well-draining soil, consistent watering, and a little patience, you’ll have a crop ready before you know it.
Once you’ve got the basics down, it’s hard not to get a little addicted to the rhythm of sowing, watching, and harvesting radishes every few weeks. Give it a try — your salads will thank you.