Propagate Garlic — Tips and Tricks That Actually Work
- Understanding How Garlic Propagation Works
- Choosing the Right Cloves to Plant
- Timing Your Planting Correctly
- Preparing the Soil for Success
- Planting Cloves the Right Way
- Watering and Ongoing Care
- Fertilizing for Bigger Bulbs
- Dealing with Scapes on Hardneck Varieties
- Common Problems and How to Fix Them
- Harvesting and Curing for Storage
- Saving Cloves for Next Season’s Propagation
- Final Thoughts
Propagate Garlic — Tips and Tricks That Actually Work
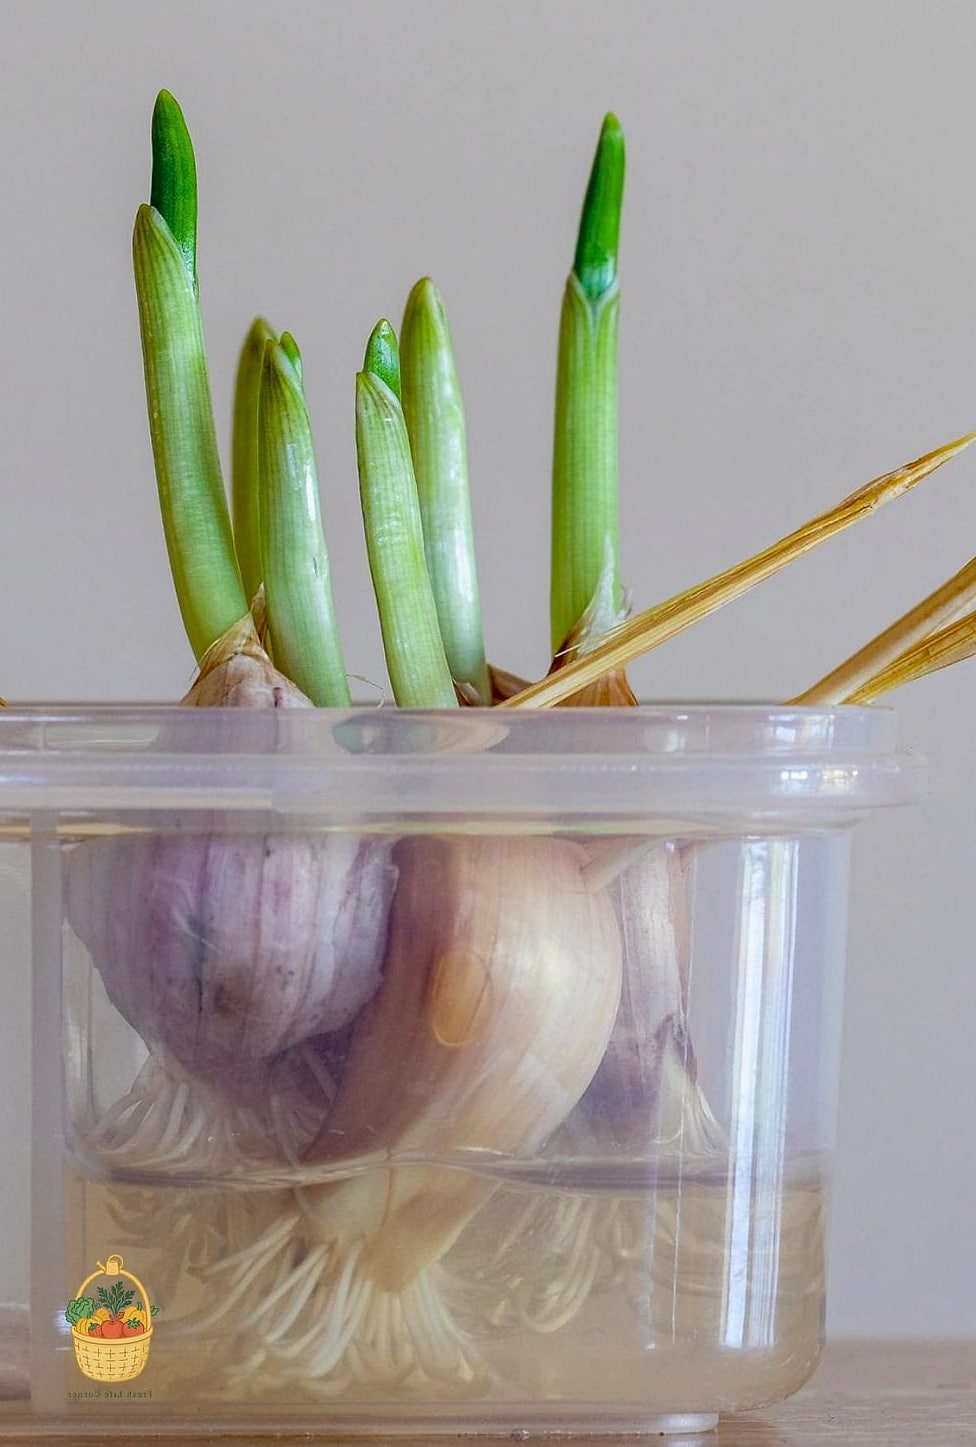
If you’ve ever pulled a head of garlic out of your pantry only to find a green shoot pushing through one of the cloves, congratulations — you’ve already witnessed garlic propagation in action. Garlic is one of the easiest things you can grow at home, and once you get the hang of it, you’ll wonder why you ever paid grocery store prices for it.
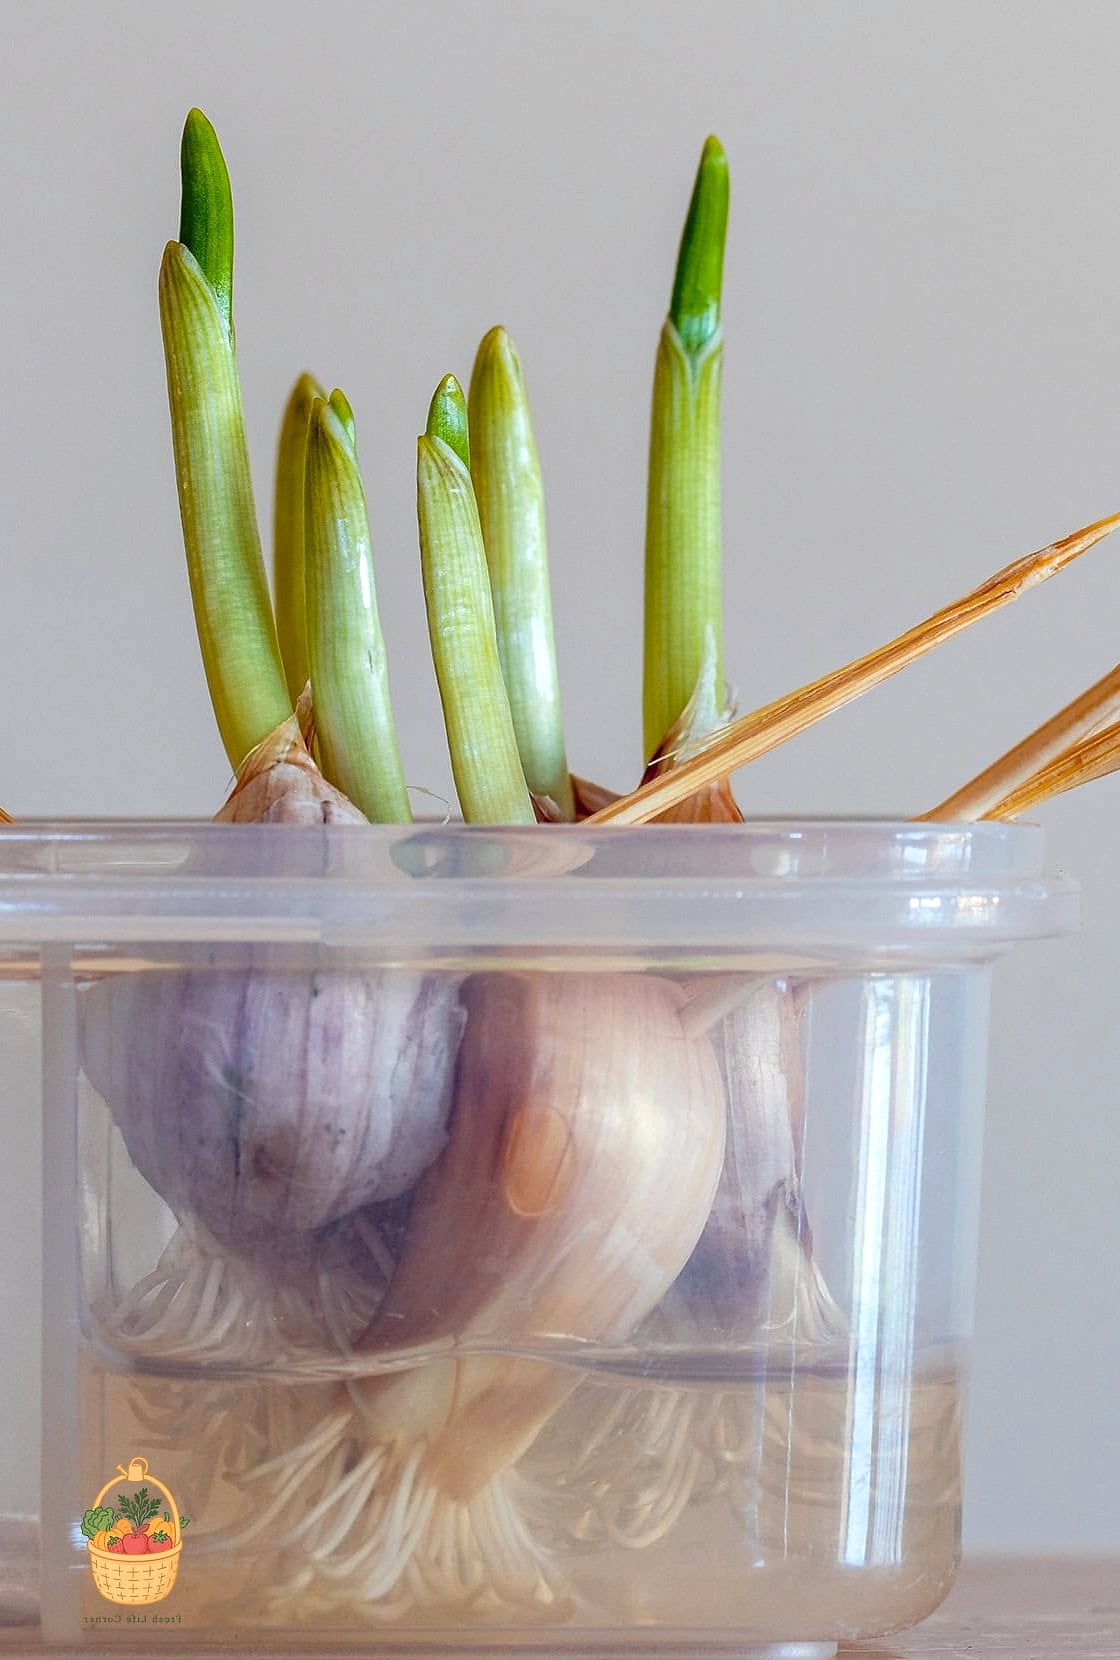
Unlike a lot of plants that need cuttings, rooting hormone, and a whole lot of patience, garlic propagates itself through cloves. Each clove is basically a tiny garlic factory waiting for the right conditions to wake up. Let’s get into how to actually make it work, because there’s more nuance to it than just “stick a clove in dirt.”
Understanding How Garlic Propagation Works
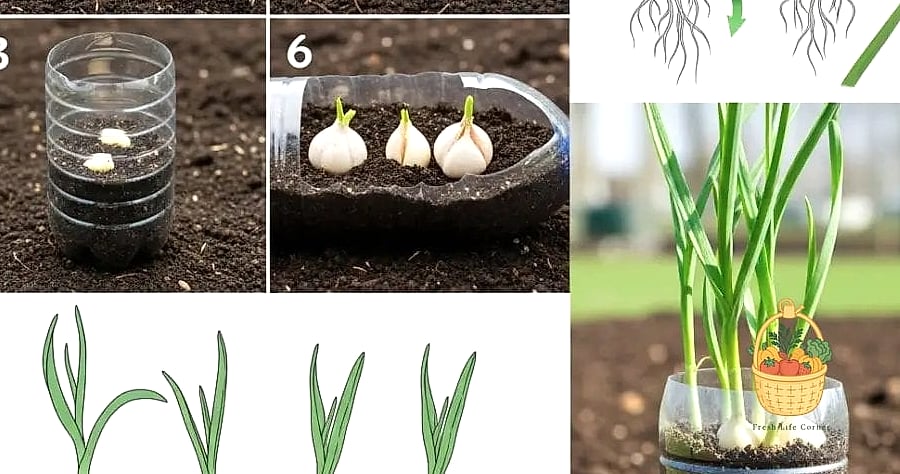
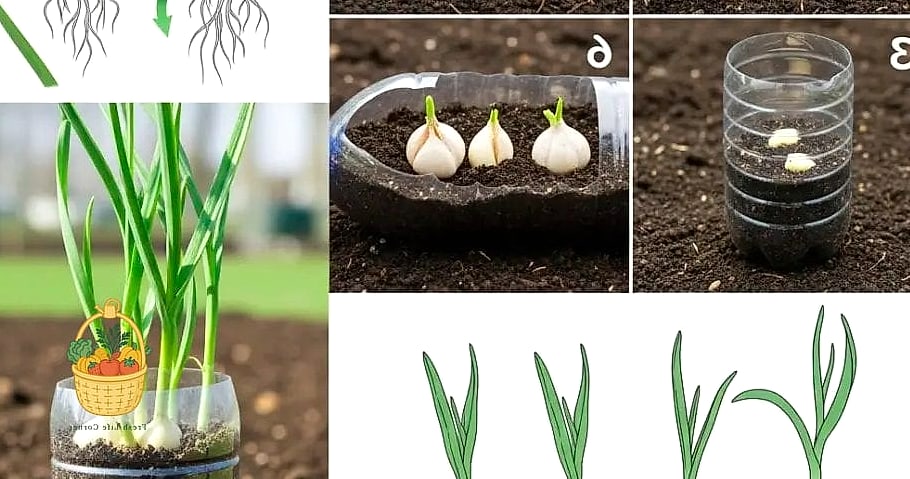
Garlic doesn’t grow from seed in any practical home-gardening sense. It reproduces vegetatively, meaning each clove you plant grows into a full new bulb made up of several cloves.
Some gardeners also propagate garlic from bulbils, the tiny bulb-like clusters that form on the flowering stalks (called scapes) of hardneck garlic varieties. This method takes longer — sometimes two seasons before you get a full-sized head — but it’s a great way to build up disease-free stock over time.
For most home gardeners, though, clove propagation is the way to go. It’s faster, more reliable, and gives you a harvestable bulb in one growing season.
Choosing the Right Cloves to Plant
This is where a lot of people go wrong right out of the gate. Grocery store garlic is often treated to prevent sprouting, and it may also carry diseases that aren’t a big deal in the store but can wreak havoc in your garden soil.
Your best bet is seed garlic from a local nursery or a reputable online supplier, or better yet, cloves saved from your own healthy harvest. Look for the biggest, plumpest cloves with the papery skin still intact — small or shriveled cloves tend to produce smaller bulbs.
Softneck varieties store longer and do well in milder climates, while hardneck varieties handle cold winters better and produce those lovely edible scapes. If you’re in USDA zones 3 through 6, hardneck garlic is usually the more forgiving choice.
Timing Your Planting Correctly
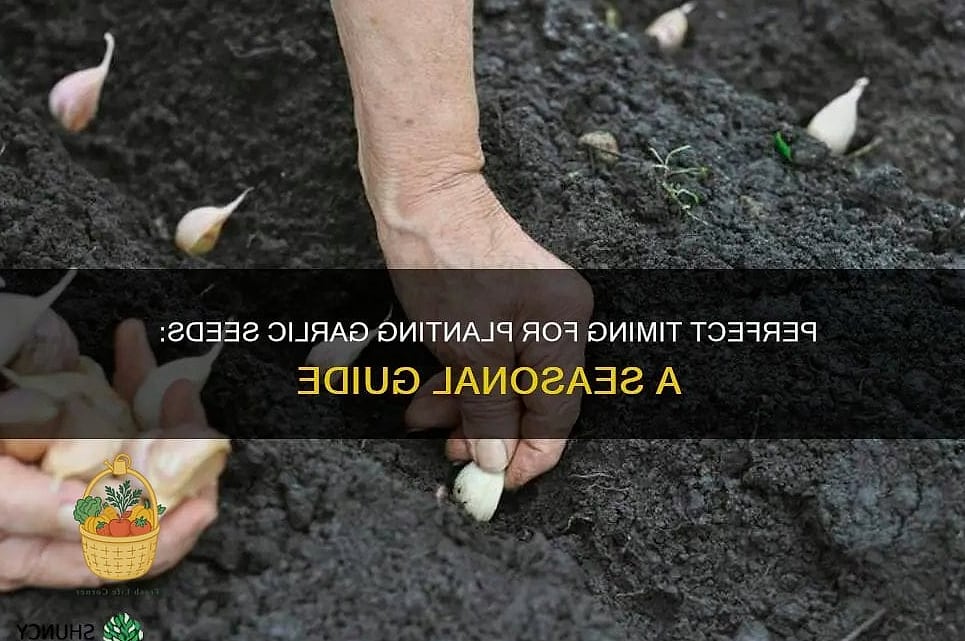
Garlic wants a cold period to trigger proper bulb formation, which is why fall planting is the gold standard almost everywhere. Get your cloves in the ground about four to six weeks before the first hard frost, giving the roots time to establish before winter sets in.
If you missed the fall window, don’t panic — garlic can still be planted in very early spring as soon as the soil is workable, though bulbs tend to be smaller since they miss out on that long cold-weather root development.
I’ve made the spring-planting mistake myself, and while the harvest was edible, the bulbs looked more like shallots than the fat heads I was hoping for. Lesson learned.
Preparing the Soil for Success
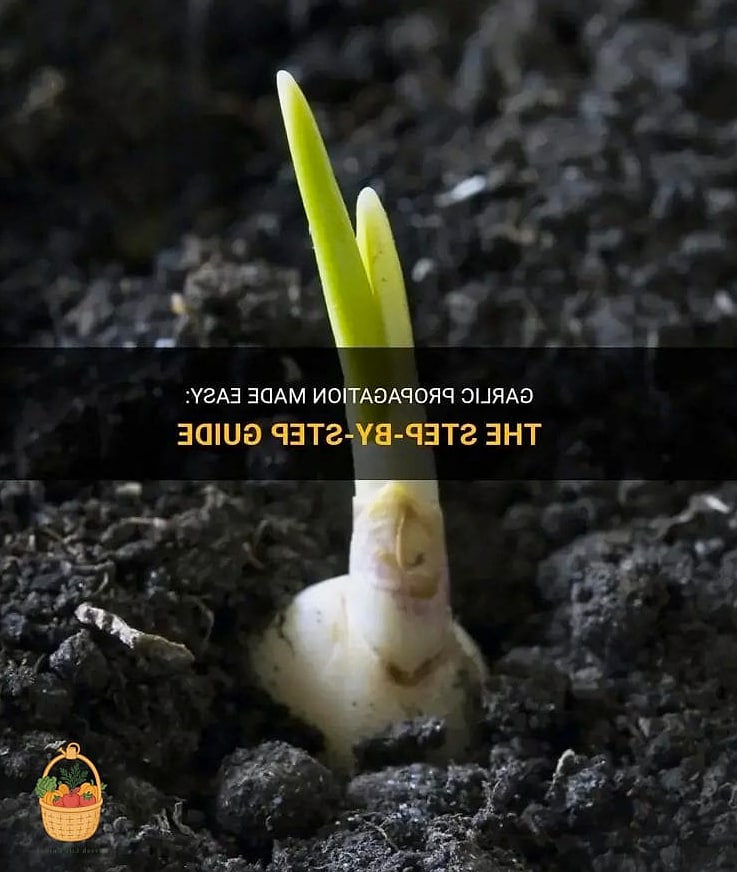
Garlic is not a fussy plant, but it does have opinions about soil. It wants well-draining soil that’s loose and rich in organic matter — heavy clay soil will frustrate both you and your garlic, since the bulbs struggle to expand and are more prone to rot.
Work a generous amount of compost into your bed before planting, and aim for a slightly acidic to neutral pH. Raised beds are ideal if your native soil leans clay-heavy, since they naturally improve drainage.
Full sun is non-negotiable here. Garlic planted in partial shade will still grow, but the bulbs will be noticeably smaller and the whole plant will be more prone to disease from staying damp too long.
Planting Cloves the Right Way
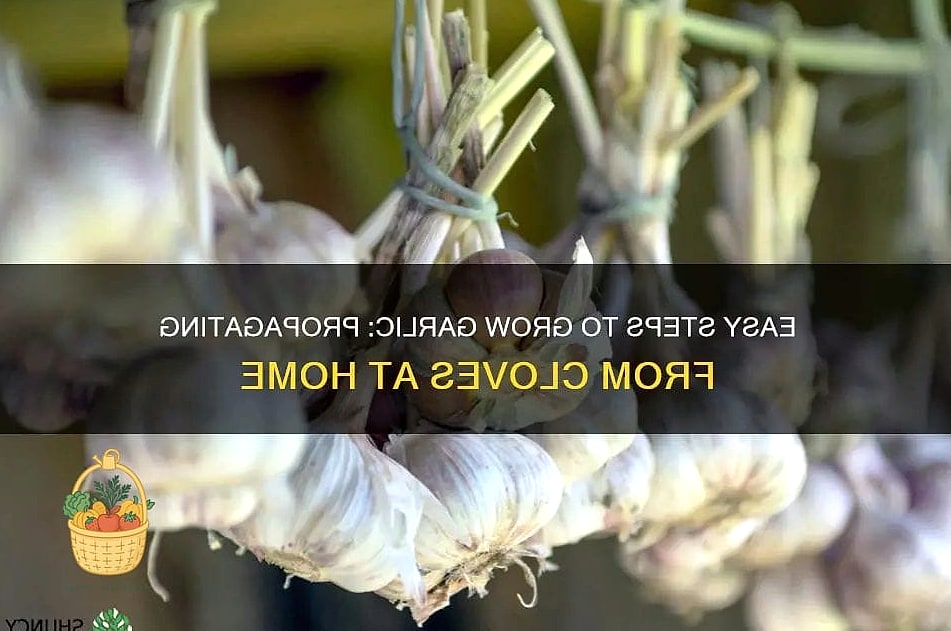
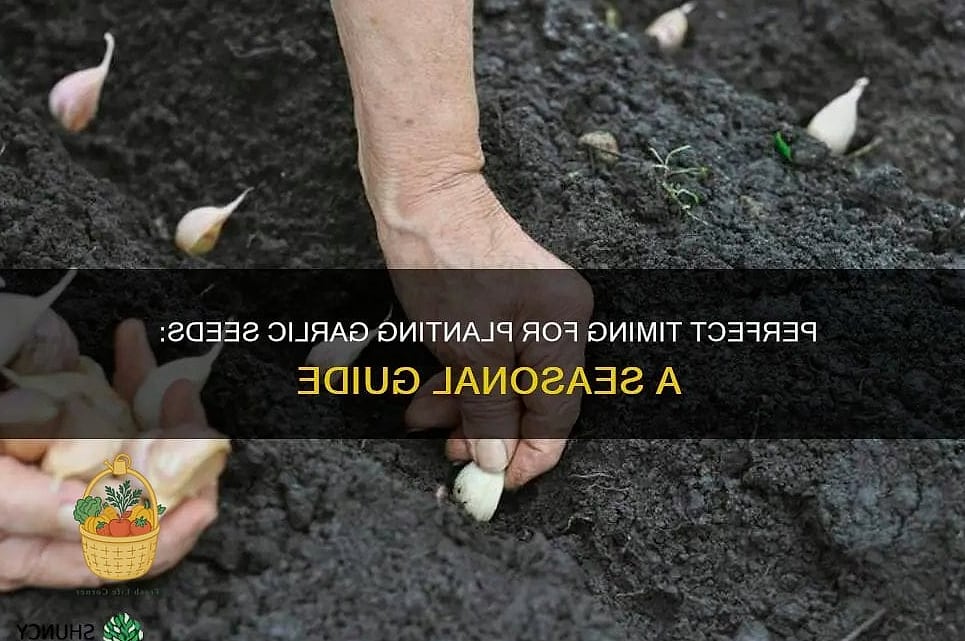
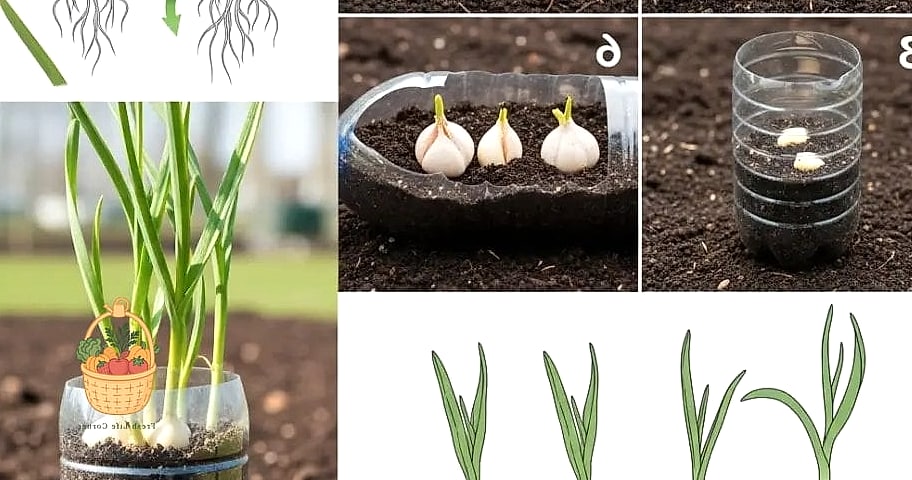
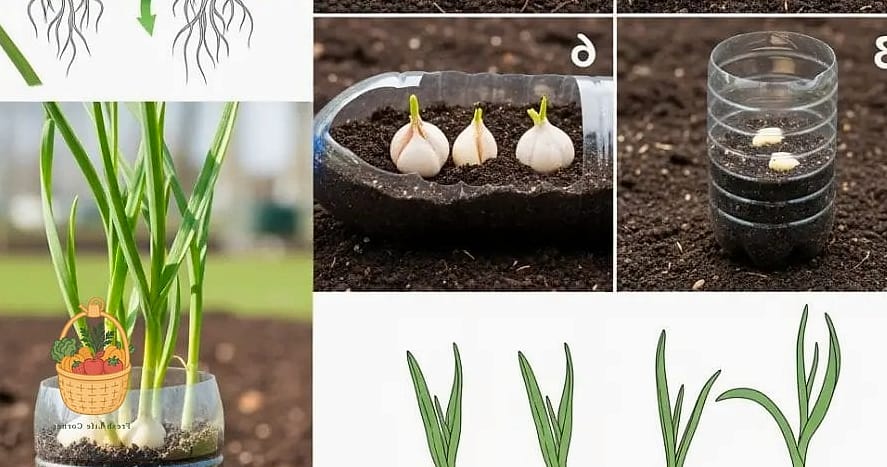
Break the garlic bulb into individual cloves right before planting, and leave the papery skin on each one — it’s protective, not decorative. Plant each clove pointy end up, root end down, about two inches deep and six inches apart.
Spacing matters more than people expect. Crowd your cloves and you’ll end up with a bunch of small, disappointing bulbs competing for the same nutrients and water.
Once planted, cover the bed with a layer of mulch — straw works beautifully here. It insulates the soil through winter, suppresses weeds in spring, and breaks down into more organic matter over time.
Watering and Ongoing Care
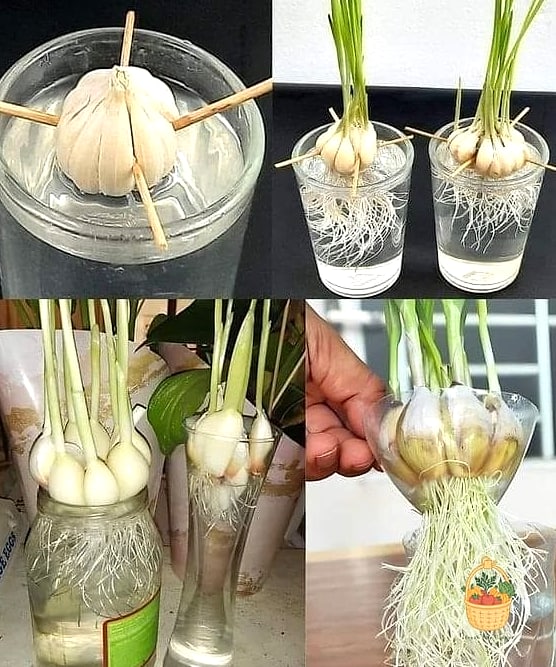
Garlic likes consistent moisture but absolutely hates sitting in soggy soil. Overwatering is one of the fastest ways to invite root rot, so let the top inch of soil dry out between waterings rather than keeping things constantly wet.
During active growth in spring, garlic appreciates more regular water. As the bulbs mature in early summer, ease off — too much water at this stage can actually cause the bulbs to split or rot in storage.
A drip irrigation setup is a great option if you’re growing a full bed, since it delivers water right to the root zone without wetting the foliage, which helps cut down on fungal issues.
Fertilizing for Bigger Bulbs
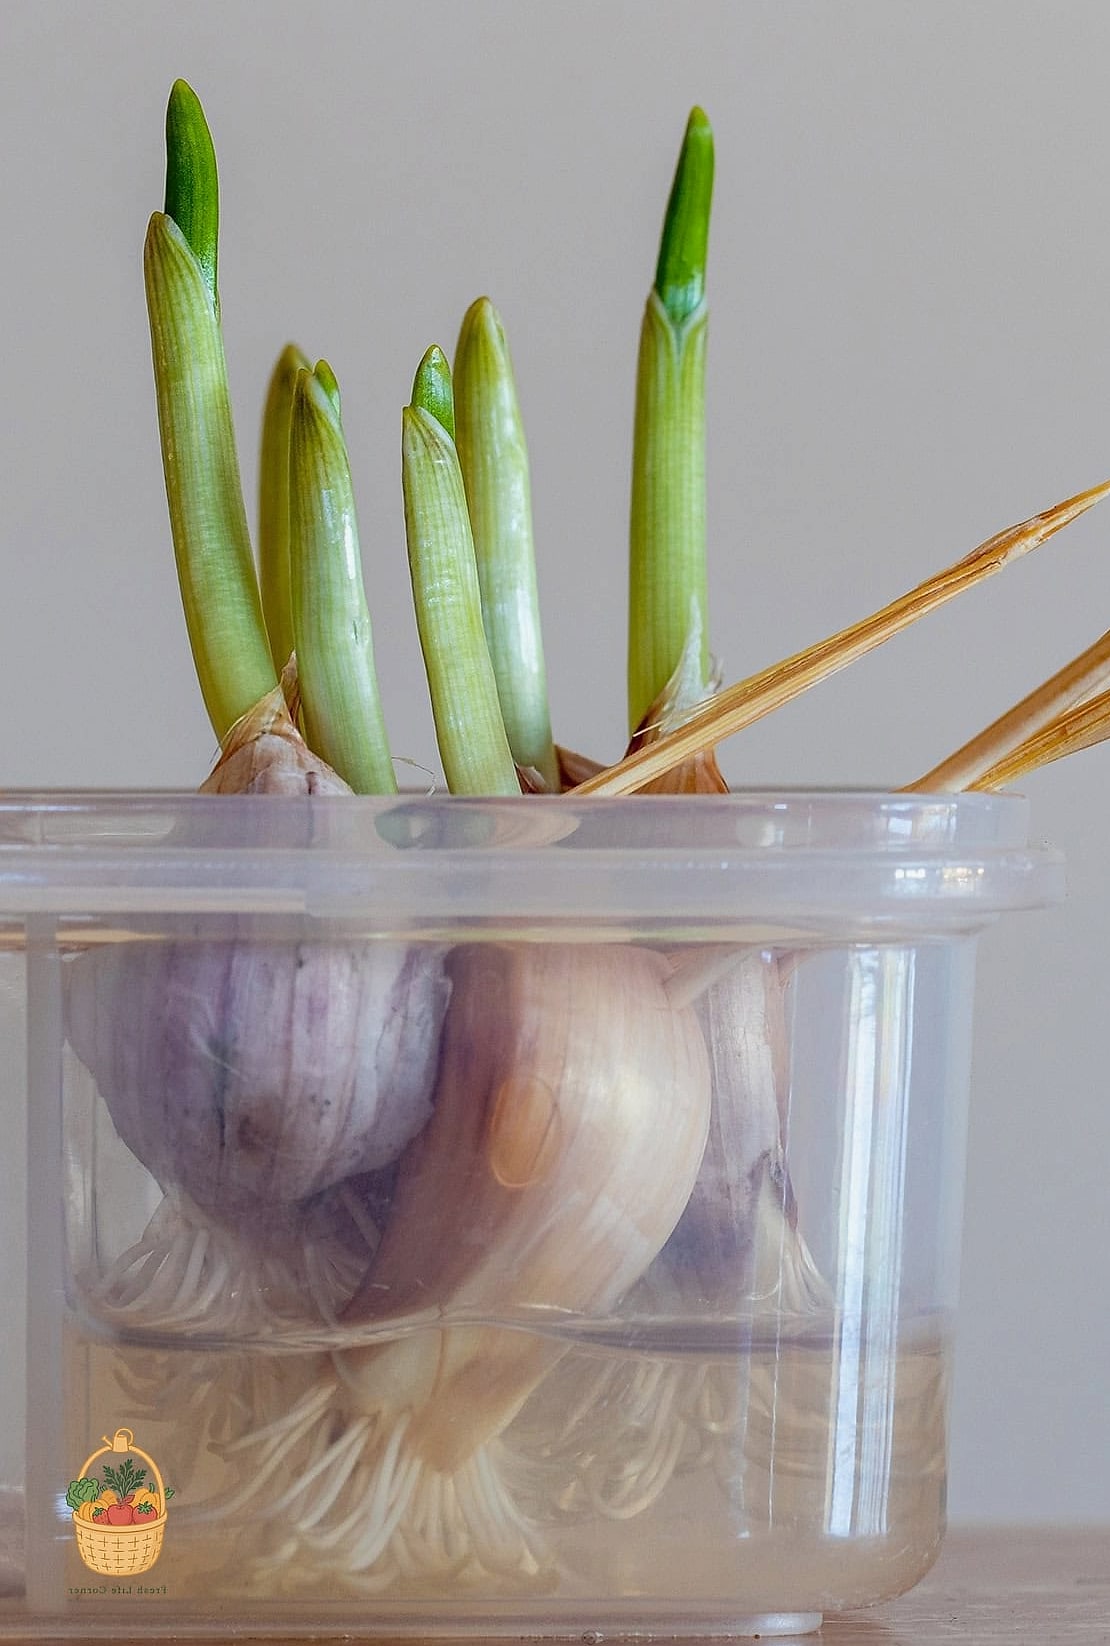
Garlic is a moderately hungry plant, especially in spring when it’s putting on most of its growth. A slow-release, balanced fertilizer worked into the soil at planting time gives it a steady baseline of nutrients through winter.
Once new growth appears in spring, a nitrogen-rich liquid fertilizer or fish emulsion every few weeks helps push leafy growth, which directly translates to bigger bulbs later. Just stop fertilizing about a month before harvest — at that point, the plant’s energy needs to go into the bulb, not the leaves.
Compost tea is another solid option if you’d rather keep things organic, and it has the added benefit of supporting healthy soil biology.
Dealing with Scapes on Hardneck Varieties
If you’re growing hardneck garlic, you’ll notice curly flower stalks appearing in late spring — these are scapes, and cutting them off is one of those small tasks that makes a real difference.
Removing scapes redirects the plant’s energy back into bulb development instead of flower and seed production. Plus, scapes are genuinely delicious sautéed or blended into pesto, so it’s a win-win rather than a chore.
Leave a few scapes if you’re interested in propagating from bulbils down the road, but for maximizing bulb size, snip most of them once they curl.
Common Problems and How to Fix Them
Yellowing leaves early in the season often point to overwatering or poor drainage, while yellowing later in the growing season is completely normal as the plant matures. Learning to tell the difference takes a season or two of observation.
Pests like aphids and thrips can show up, though garlic’s natural sulfur compounds make it less appealing to most insects than other garden plants. A blast of water or insecticidal soap usually handles minor infestations without needing anything harsher.
White rot and rust are the two diseases to watch for, and both spread through soil, so crop rotation is your best defense. Avoid planting garlic or other alliums in the same spot more than once every three to four years.
Harvesting and Curing for Storage
You’ll know garlic is ready when the lower leaves start browning while the upper leaves stay green, usually in mid to late summer. Pulling too early gives you underdeveloped bulbs, while waiting too long can cause the cloves to separate and lose their papery wrapper, which hurts storage life.
After harvesting, cure the bulbs in a warm, dry, well-ventilated spot out of direct sun for two to three weeks. This step is easy to rush, but it’s what allows garlic to store for months instead of weeks.
Once cured, trim the roots and stems, and store your bulbs in a cool, dark place with good airflow — a mesh bag or open basket works far better than a sealed container.
Saving Cloves for Next Season’s Propagation
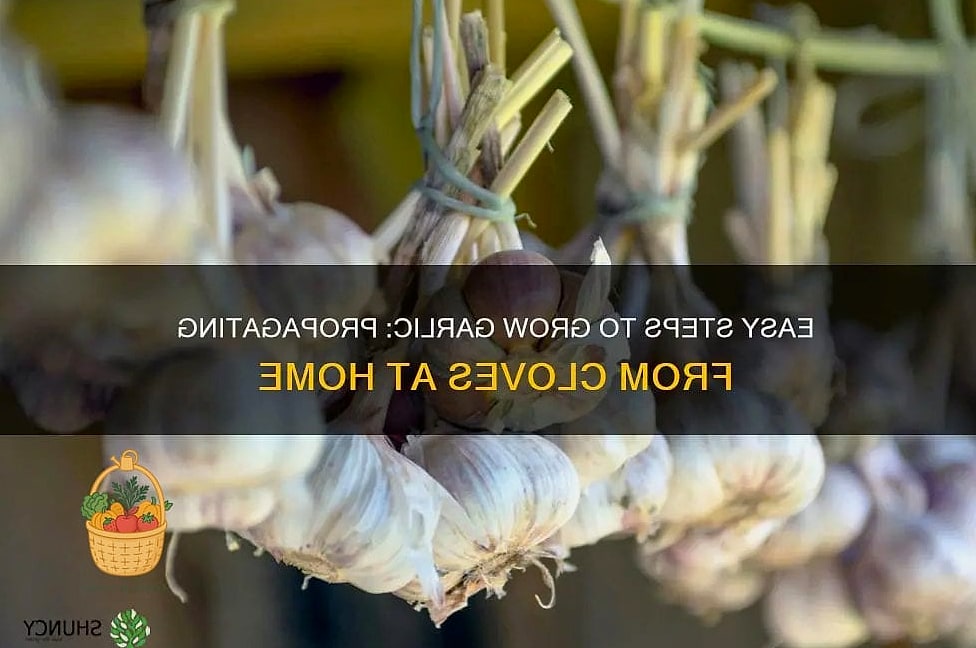
Here’s where the propagation cycle really pays off: set aside your biggest, healthiest bulbs from this harvest to replant in fall. Over a few seasons, you’ll essentially be selecting for garlic that’s well-adapted to your specific soil and climate.
This is how a lot of regional garlic varieties came to be in the first place — gardeners saving their best stock year after year. It’s a satisfying, low-cost way to keep your garden going without buying new seed garlic every season.
Just remember to rotate your planting location and keep an eye out for any signs of disease before saving cloves, since you don’t want to unknowingly propagate a problem along with your garlic.
Final Thoughts
Learning to propagate garlic is one of those gardening skills that feels almost too simple once you’ve done it — plant a clove, wait, harvest a whole new bulb. But getting consistently big, healthy heads really does come down to the details: good cloves, well-draining soil, proper timing, and a little patience through the cold months.
Once you’ve got a system down, garlic practically propagates itself year after year, and there’s something genuinely satisfying about pulling up a harvest that started from cloves you saved yourself.